
I have never seen two guitar players restring a guitar in the same way. Some bend the strings after going through the pegs, some wind many times around the peg, whilst others do it just once. But do you replace all of your guitar strings by removing them all first? Or do you change them one-by-one?
Steps to changing guitar strings
- Remove old strings – with a tremolo, remove one at a time.
- Clean the fretboard and any dirty areas.
- Slide new strings through the bridge.
- Insert strings through tuning pegs.
- Hold string towards tuner, give some leeway and loop clockwise under and over.
- Hold tight and tune up so the string remains on the inside of the tuning peg.
- Follow this for each string and retune accurately when all strings have some tension.
- Clip excess string and you’re set.
Guitar Strings
Nothing seems to split the world of guitar maintenance more than how you restring your guitar. The old tales go that by removing all of the guitar strings at once, you can potentially ruin the playability of your instrument. From wrecking the intonation, action, tremolo placement and neck, we’ve heard it all…
Luckily, all of those things are easy enough to fix with a quick set up if you know how. But can you avoid having to set up your guitar every time? What if I have been restringing my guitars wrong for the last 10 years?
To demystify these questions, we have conducted a series of tests. Using a 2004 PRS Standard 22, a bunch of guitar strings and some measuring tools, we’re going to find out which string-changing method will affect the action, neck placement or bridge position of your guitar the most- or least! Let’s get started…
Hypothesis: Changing guitar strings one at a time makes no difference to your guitar’s setup compared to restringing the guitar all at once.
I believe that outside of personal reasons for preferring one method over the other, there should be no real difference in the feel, sound or intonation of the guitar.
Electric Guitar Strings
Shop All Electric Guitar Strings
Method
There will be only a single variable in these tests: the method of stringing the guitar.
- All guitar strings used are 10-46 gauge, from the same brand.
- The guitar has locking tuners and will be strung straight through, with no slack or extra windings.
- Measurements will be made with high-quality, accurate tooling.
- The guitar will be strung in a room with a consistent temperature/humidity on the same day, to ensure that there is no chance for any environmental changes to affect the guitar neck.
If there is a change between tests at the 12th fret but not at the bridge, we can be sure that movement has occurred to the neck.
If there is a change at the bridge and the 12th fret, we can calculate how much of that had to do with the bridge moving and how much of it was the neck. We’ll do this by comparing the differences in movement.
Step 1: Get a control
This guitar was re-strung 1 week before the tests with a set of 10-46 gauge strings. It was set up to the players liking at the time. We will measure the string height at the 12th fret, as well as how high the tremolo system is floating off the body. The intonation will also be measured with a precise, accurate digital tuner. This will check how sharp or flat each guitar string is at the 12th fret and the 12th fret harmonic.
Step 2: Replace strings all at the same time
We will restring the guitar using a fresh set of 10-46 strings, from the same brand as the original set. The guitar will then be tuned to E standard and measured in exactly the same way we measured in the control tests (above). For this test, we will remove all 6 strings at the same time and then replace them.
Step 3: Replace strings one at a time
This step is very similar to step 2, but we will remove one string and replace it before moving onto the next one. Again, this will be done with a fresh set of 10-46 strings, from the same brand.
The Tests
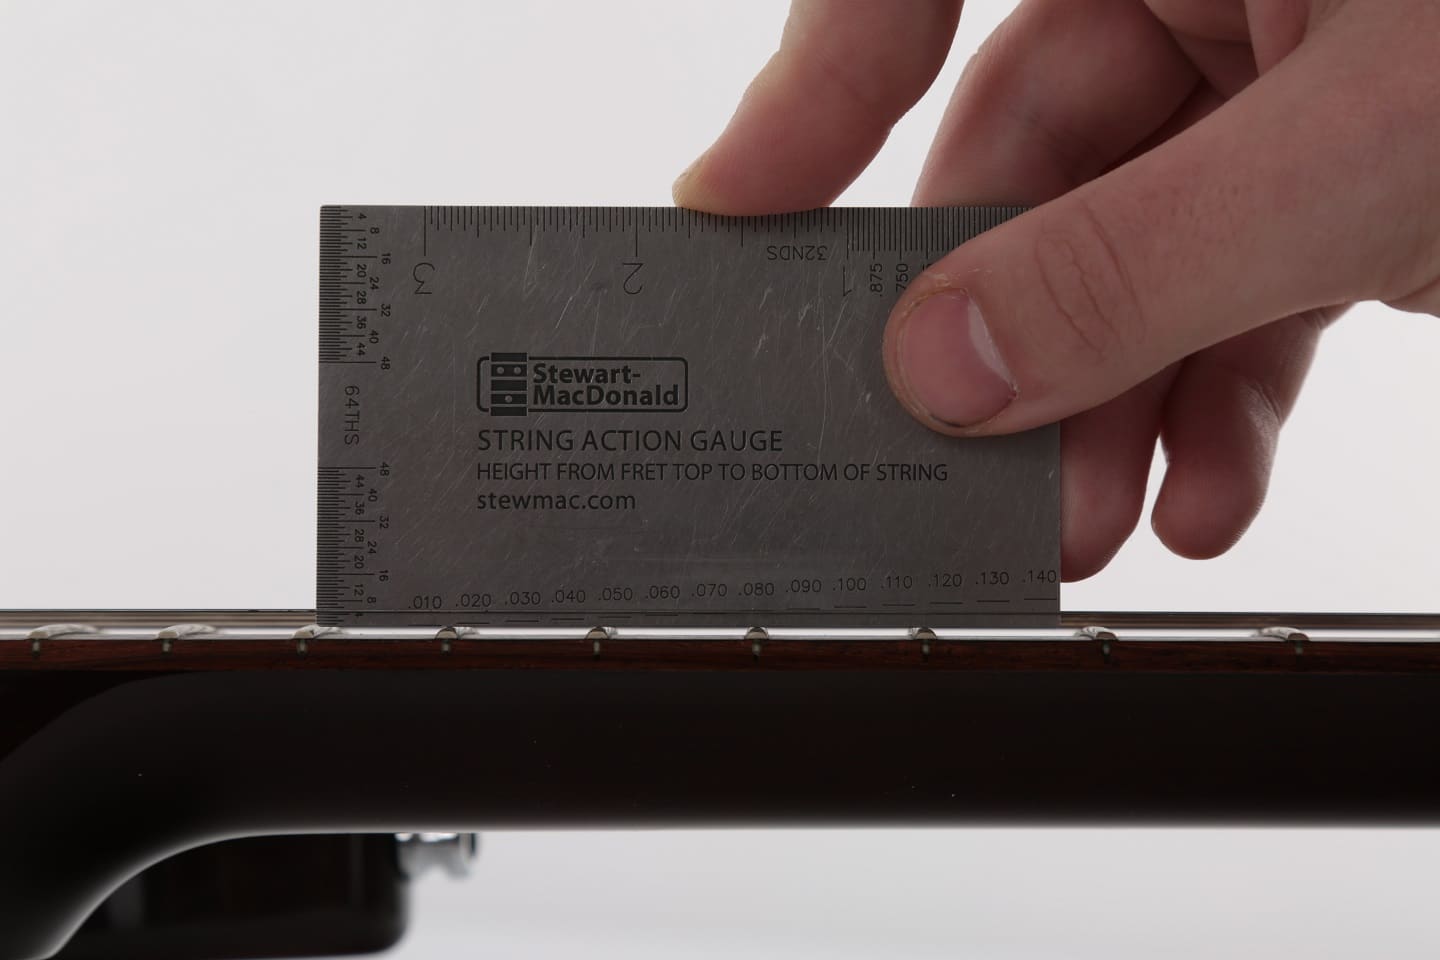
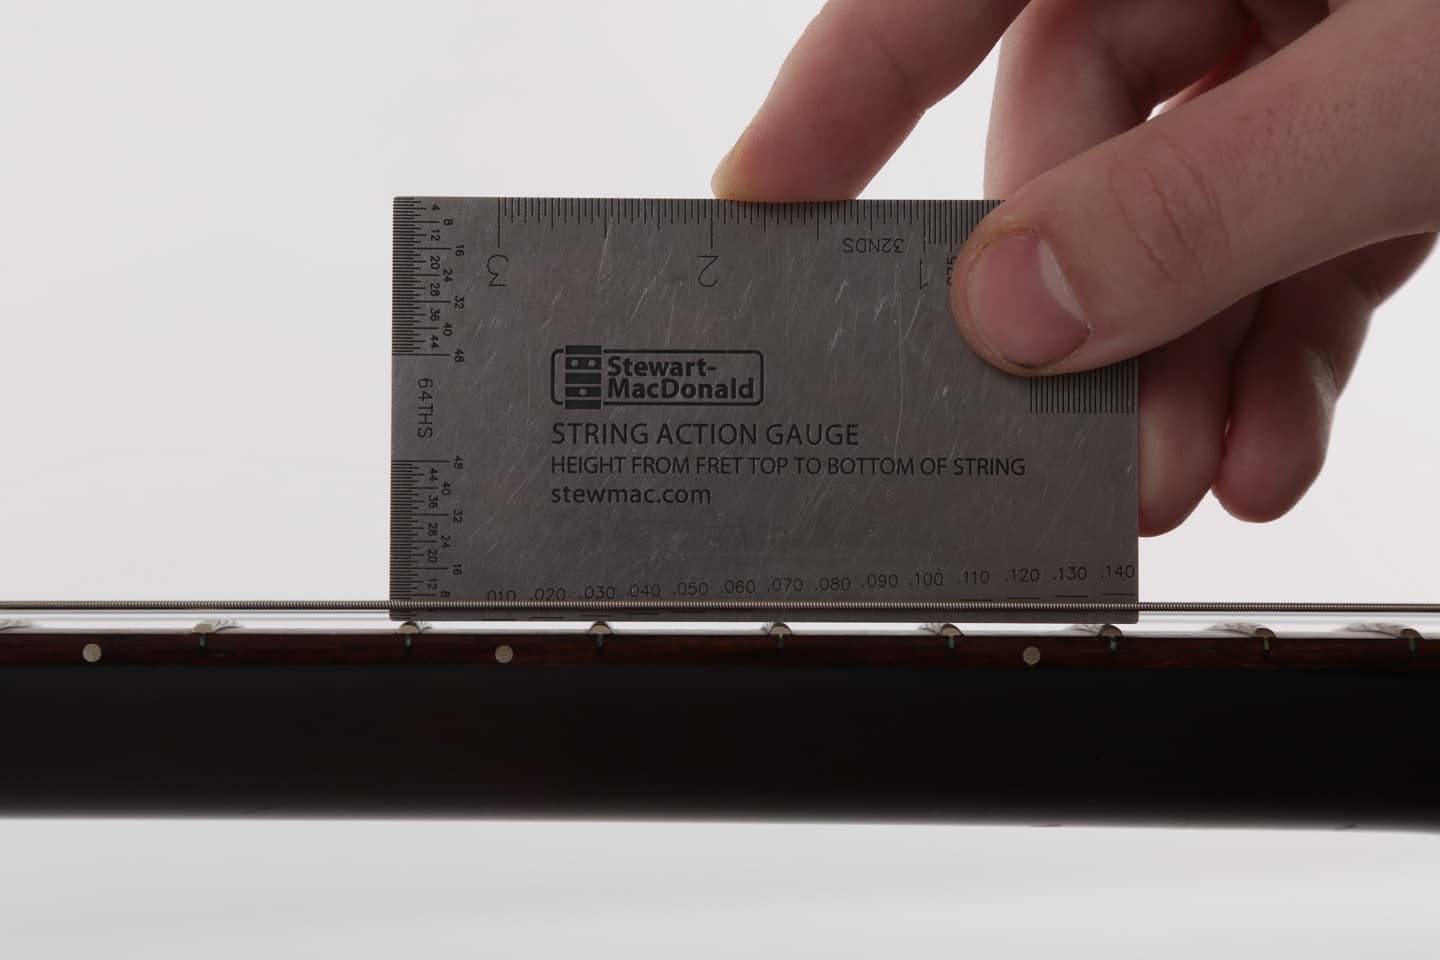
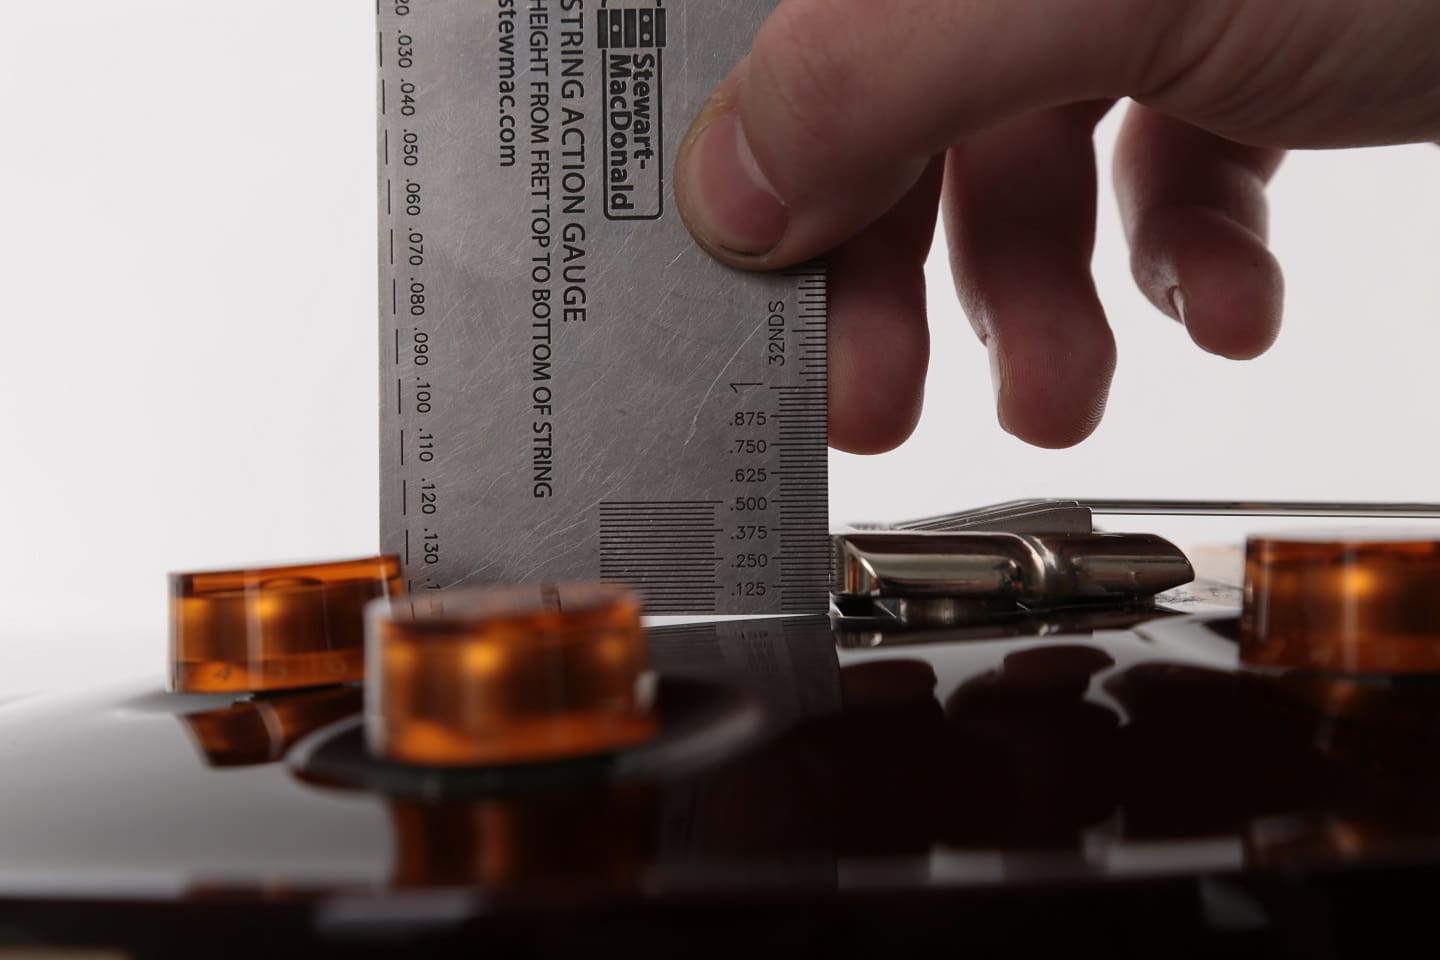
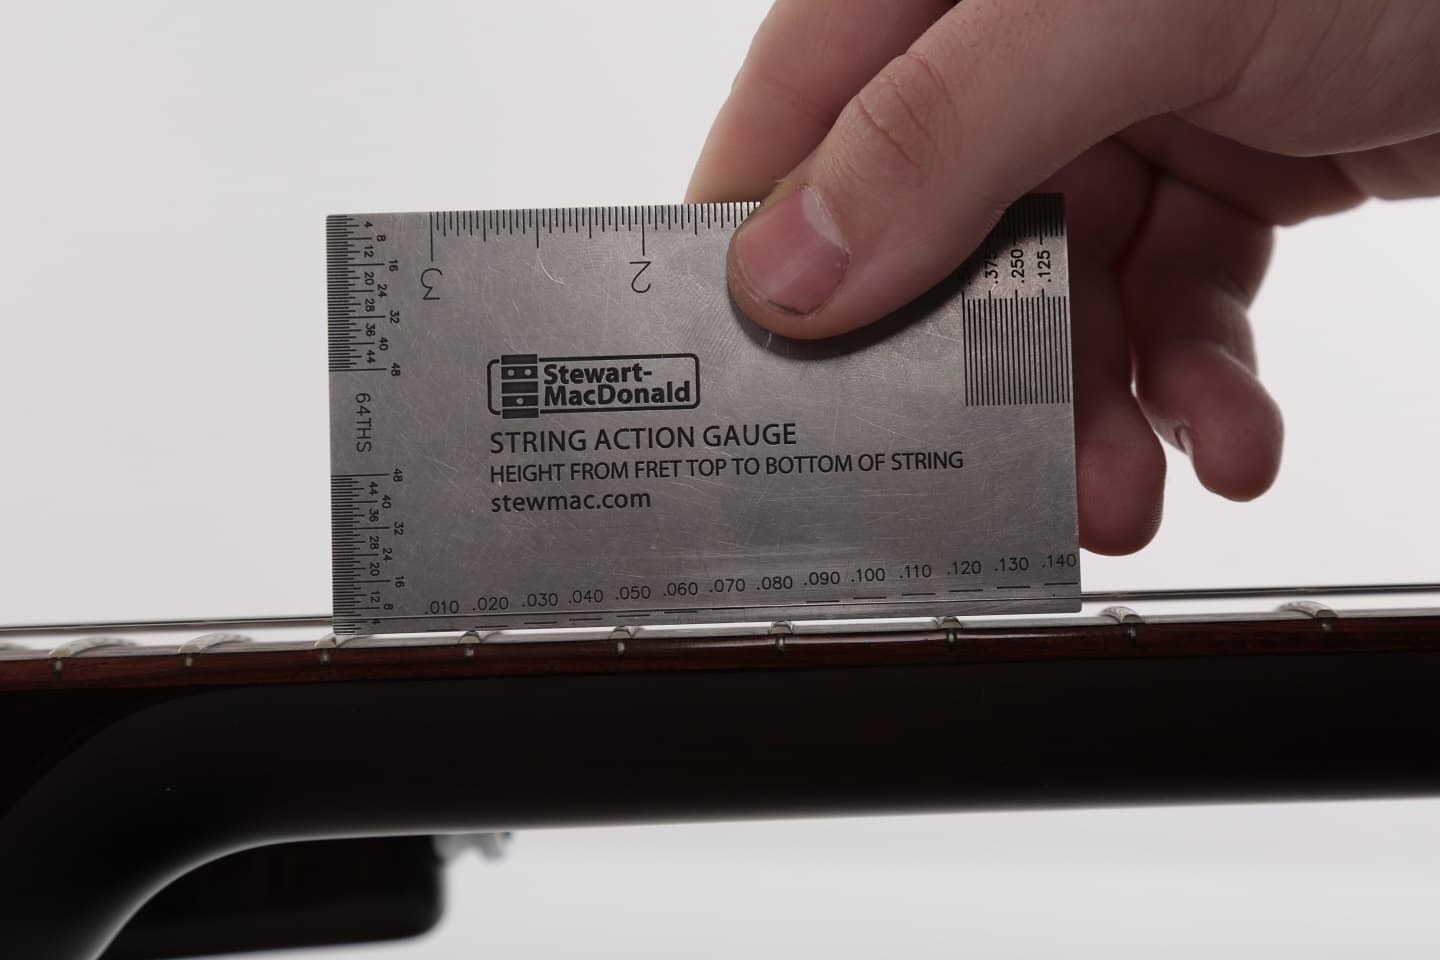
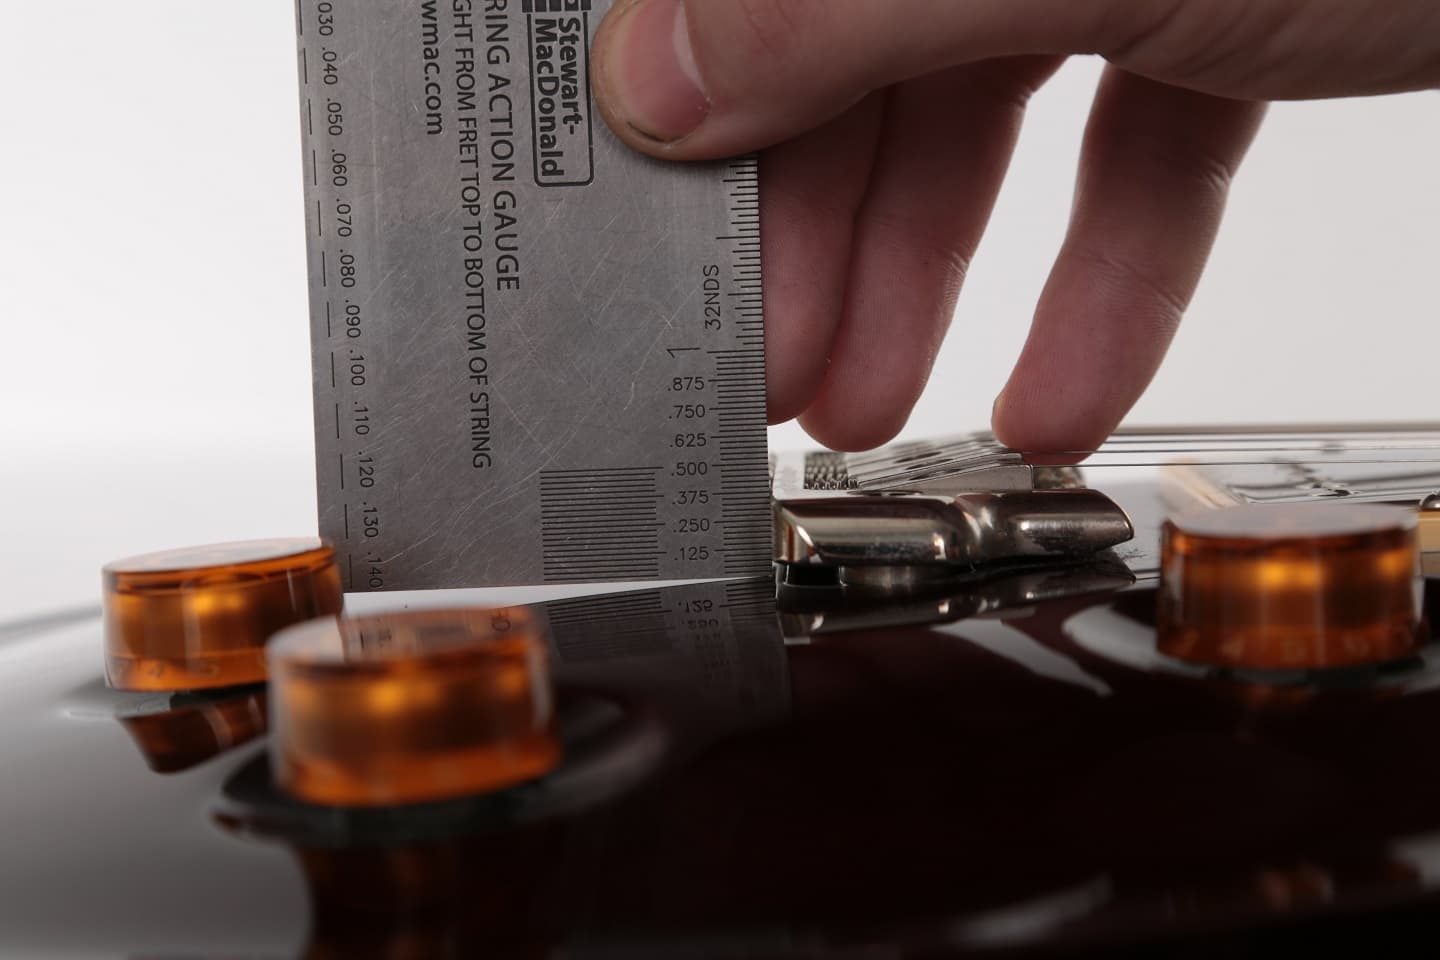
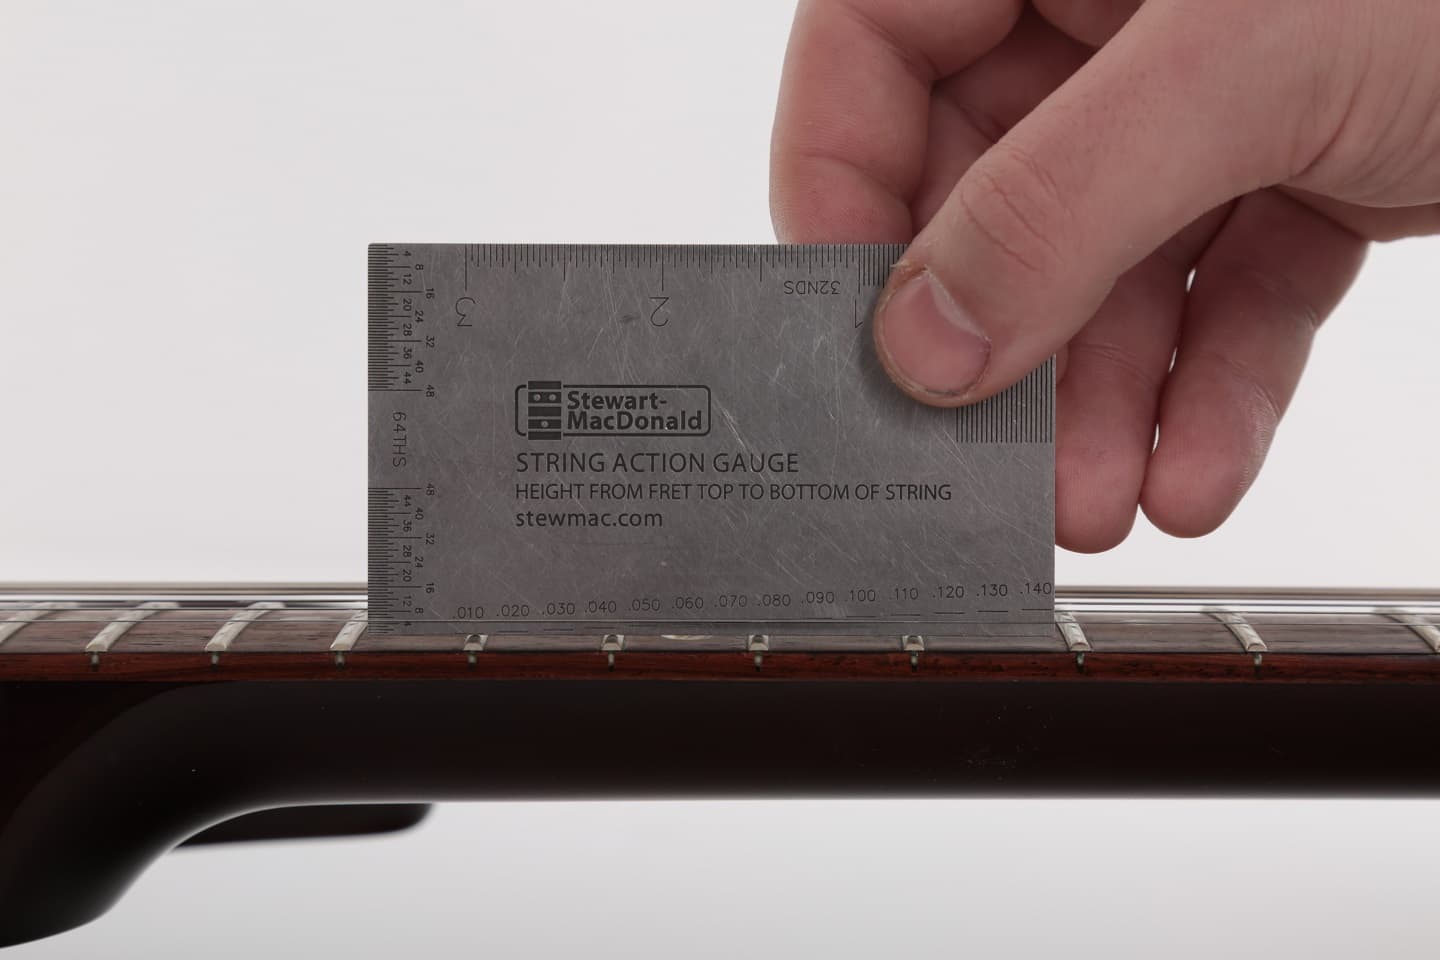
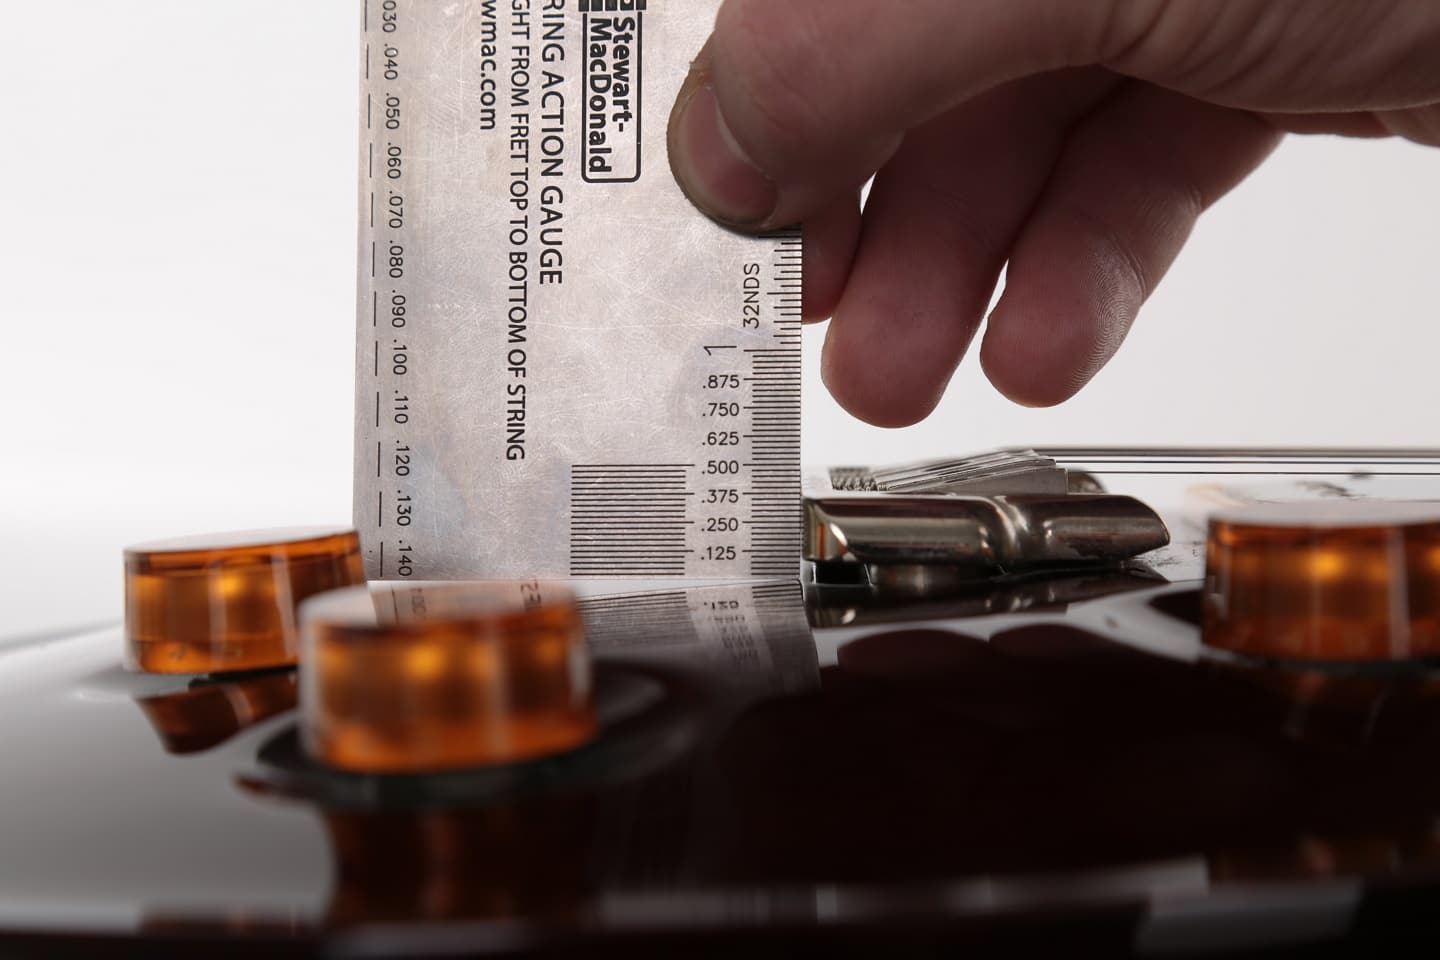
Using a Stewart-MacDonald String Action Gauge, we measured the string height at the 12th fret on both sides of the neck. We also used the same tool to measure the bridge height, to see if that would move through the test.
This set of 10-46 strings had been on the guitar for a few days at this point, so they had time to settle. Here are the measurements of the guitar at this point:
| Control | |
| Fret 12 Height (e) [inches] | 0.075 |
| Fret 12 Height (E) [inches] | 0.105 |
| Floating Bridge Height [inches] | 0.1 |
Changing Guitar Strings All At Once
After taking those measurements, we removed the old strings from the guitar and replaced them instantly with a fresh set of the same gauge strings. Like the setup before, they were pulled straight through the peg and locked in place using the locking tuners. There were no extra winds to add any variance to the neck/string tension.
After this, the guitar was remeasured, and we found some interesting results. We can see that there was a slight increase of 0.005 of an inch on the highest e string, and a larger 0.015 of an inch movement on the lower E string.
The bridge, however, did not move at all, staying at a solid 0.100 of an inch.
| Control | All At Once | Difference | |
| Fret 12 Height (e) [inches] | 0.075 | 0.08 | 0.005 |
| Fret 12 Height (E) [inches] | 0.105 | 0.12 | 0.015 |
| Floating Bridge Height [inches] | 0.1 | 0.1 | 0 |

Changing Guitar Strings One At A Time
Following the same system as before, we changed these strings one at a time, not unlocking the string until it was time to change it. By restringing this way, some tension is kept on the neck at all times.
What we see here is interesting, but not entirely unexpected. The high e string got a little bit higher, however it rose by exactly the same amount as it did when we replaced the strings all at once. Despite this, there was next to no movement on the lower E string. Once again, the bridge did not move at all.
| Control | All At Once | Difference | One At A Time | Difference | |
| Fret 12 Height (e) [inches] | 0.075 | 0.08 | 0.005 | 0.085 | 0.005 |
| Fret 12 Height (E) [inches] | 0.105 | 0.12 | 0.015 | 0.12 | 0 |
| Floating Bridge Height [inches] | 0.1 | 0.1 | 0 | 0.1 | 0 |

Conclusion
Do the results of these tests prove that you should always replace your strings one-by-one? Probably not. While we did see a marginal difference in the ‘all-at-once test’, it was by such a small amount that in the grand scheme of things – it is not something you need to worry about!
In that test, the movement we saw with both the neck and bridge was almost immeasurable (less than 0.01 of an inch.). With that, we are comfortable to say that there is practically no measurable difference between these two guitar restringing methods.
So, while objectively there is no real difference to the end result, varying guitar models and different people will have contrasting needs when it comes to changing strings. Below, we have detailed a list of pros for these different methods.
FAQs
Why you should change your guitar strings all at once
- Better ability to clean the guitar.
- Faster than changing them one at a time.
- Best time to prepare a guitar for a setup.
If you are confident with a screwdriver and some hex keys, I recommend taking the time to learn the basics of setting up a guitar and replacing your strings all at once. This is the best way to keep your guitar in the best playing condition.
Why you should change your guitar strings one at a time
- Tailpiece, Bigsby and Floyd Rose fitted guitars are much easier to change when replacing one string at a time.
- Reduces risk of accidentally putting out the intonation or action.
If nothing scares you more than accidentally messing up your guitar’s intonation, then I recommend replacing them one at a time. This is especially if it has a tailpiece, like a Les Paul tune-o-matic or a Bigsby/Floyd Rose tremolo system.
You will eventually have to give in though and occasionally replace your guitar strings all at once, to give the guitar a good clean and a setup. If you are not confident doing this, taking your guitar to a tech once or twice a year to get it cleaned, setup and restrung is recommended.
Conclusion
Personally, I noticed no real-world difference in the feel, playability, intonation or setup of the guitar between changing guitar strings using either method. I will continue to change guitar strings all at once, so I can easily clean and refine the setup each time I restring.
What do you think about the results of this test? Leave a comment and share your thoughts!
If you’re interested in finding the answers to some of the most notorious guitar myths around, check out more of our Labs articles by clicking here.
Check out the huge array of guitar strings on sale at the Andertons website.
Responses & Questions