Shop Pedal Cable Kits
How Do I Put My Pedalboard Together?
Now that you’ve got your stompboxes, pedalboard, power supply and cables, let’s get to the really fun and practical part – putting together your pedalboard! This can be separated into a few key steps, which we’ve detailed below.
We’re going to assume that your pedalboard looks like a blank canvas right now, so let’s start with how to prepare your pedalboard properly. This is to make sure that your stompboxes are super easy to mount in a logical order.
Preparing Your Pedalboard – How To Apply Velcro
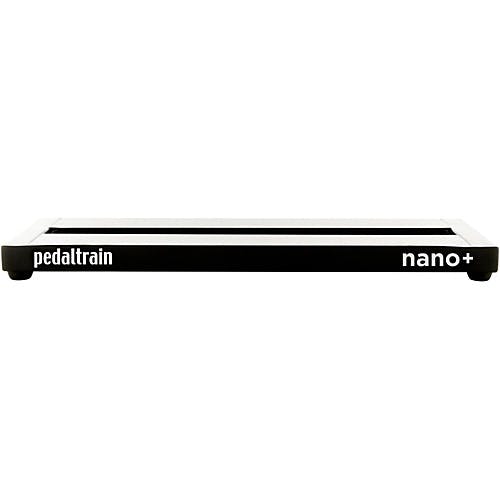
If you’ve bought a Pedaltrain pedalboard, you may have noticed that two rolls of velcro were included – the ‘hook’ and ‘loop’ sides. Some other brands also ensure that their boards come with velcro, so that you have one less thing to worry about buying before building your pedalboard.
Velcro has always been the most popular method, and it’s the one that we prefer. But before you start sticking the velcro down, wipe down the surface of the board with a suitable cleaning product. This is so that you remove any grease or dust that may be stuck to it. And while you’re at it, do the same to the underside of your pedals.
This is very important, as a clean surface will allow the adhesive from the velcro strips to stick as effectively as possible. If you don’t do this, whenever you feel an urge to change out some stompboxes or even rearrange your entire setup, the velcro may come off with your pedals! If there are any rubber feet underneath your pedals too, make sure that you remove them. This is so that your pedals sit flat on your board.
Now, we’d recommend applying the ‘loop’ (softer) side of the velcro to the pedalboard. There isn’t really a right or wrong here, but the ‘hook’ side is more abrasive and dust can easily get caught between the tiny spines. This means that if you ever want to clear the inevitable dust or debris that will collect on your board over time, the ‘loop’ side will be easier to hoover or brush.
When cutting the velcro, ensure that you have the velcro strips running all the way to edges of your pedalboard. This is so that you can maximize its real-estate, and have your pedals pushed all the way up to its perimeter if necessary.
The same thing applies to your pedals with the ‘hook’ side of velcro. Having a piece of velcro that runs the length of the underside of your pedals will ensure that they stick firmly to your board. But don’t velcro them down just yet…
In What Order Do You Place Pedals On A Pedalboard?
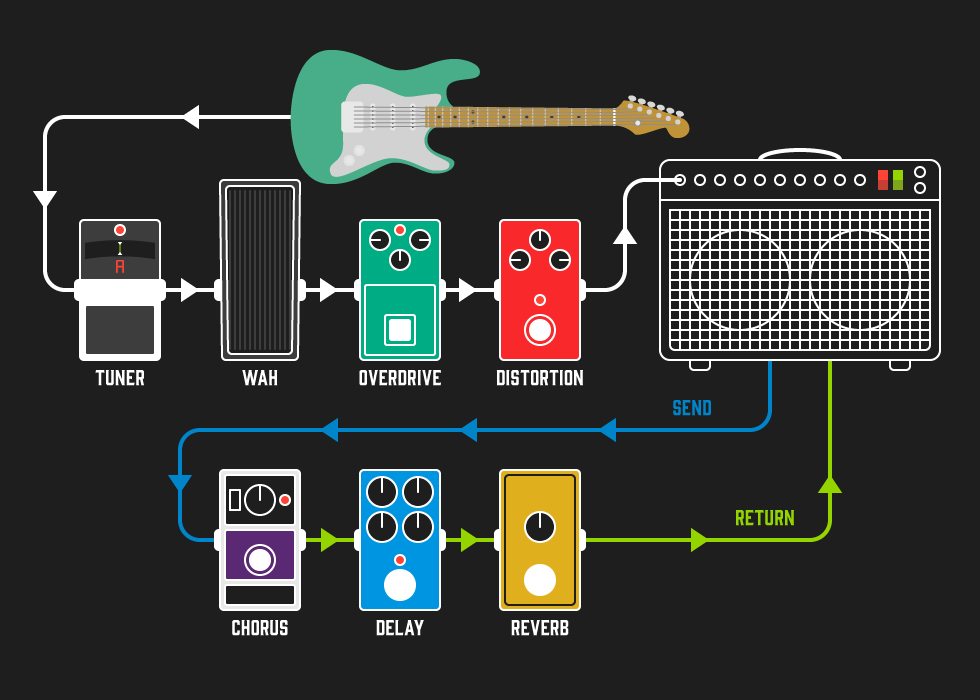
When it comes to setting up your effect signal chain, again, there’s no definitive right or wrong. Some players love to experiment with the order of their pedals, to harness unusual tones that you wouldn’t expect. However, if you want a versatile board that functions in a rational way, below we’ve created a guitar pedal setup diagram that shows you the order that many players adhere to:
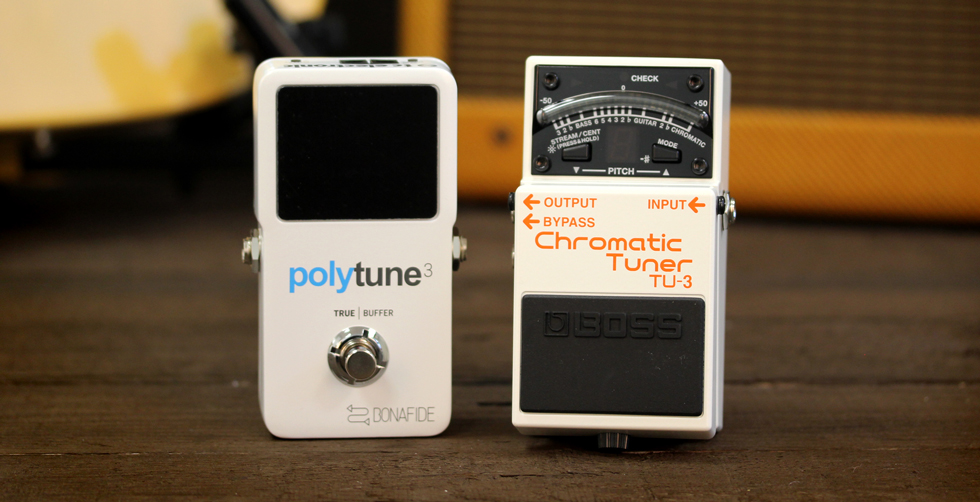
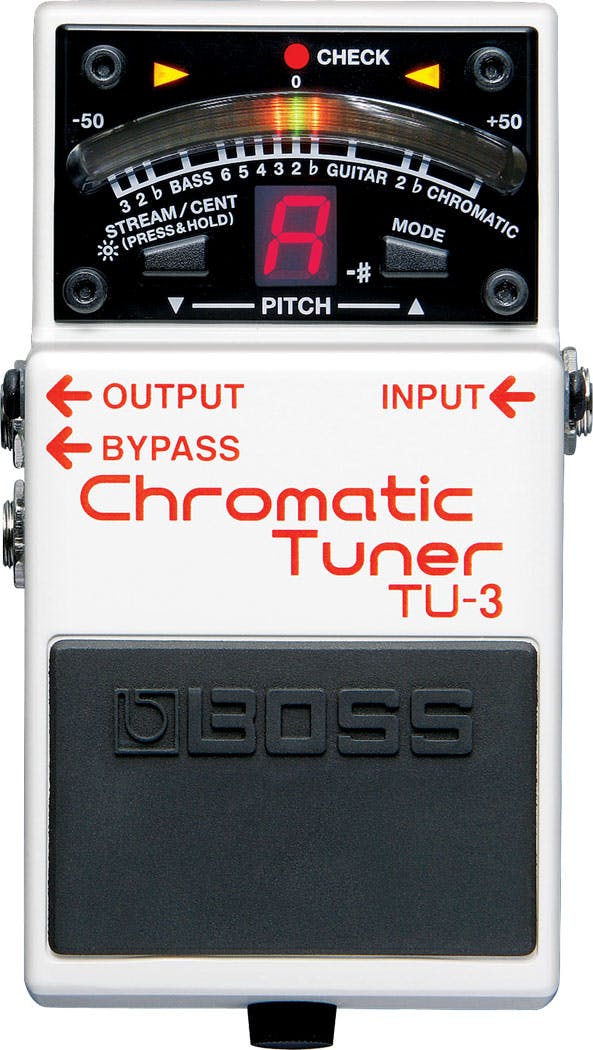
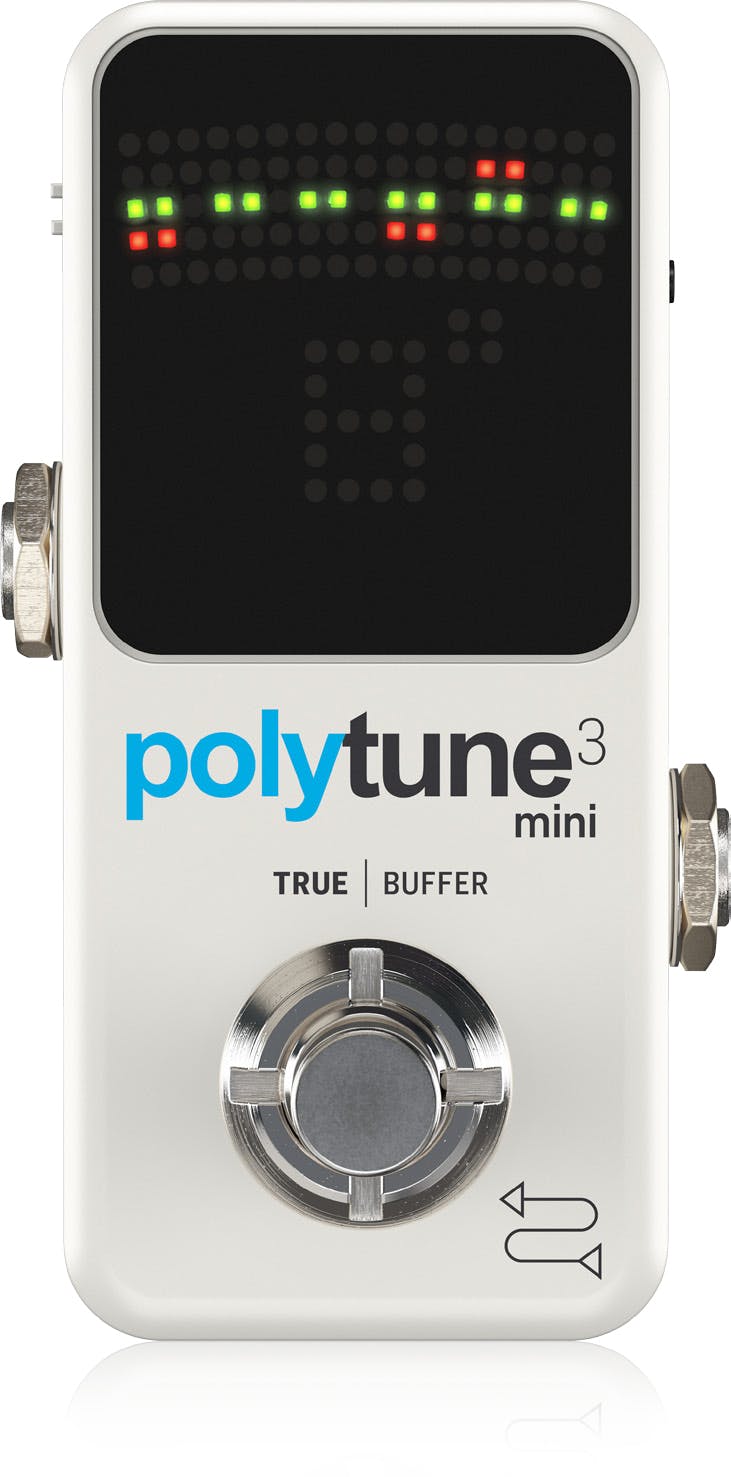
If you’re concerned about what the terms ‘send’ and ‘return’ mean, we’ll explain that in a bit. As you can see, the tuner is placed first in the pedalboard chain. The reason for this is that you would want the pure output from your guitar feeding into the tuner input. This will allow the pedal to identify the note(s) as accurately and quickly as possible.
Wah is next, as the sweep is supposedly wider when it is placed before your overdrive or distortion stompboxes. This only applies if you’re intending to use them in conjunction with one another. But c’mon, a wah is meant to be used with some grit!
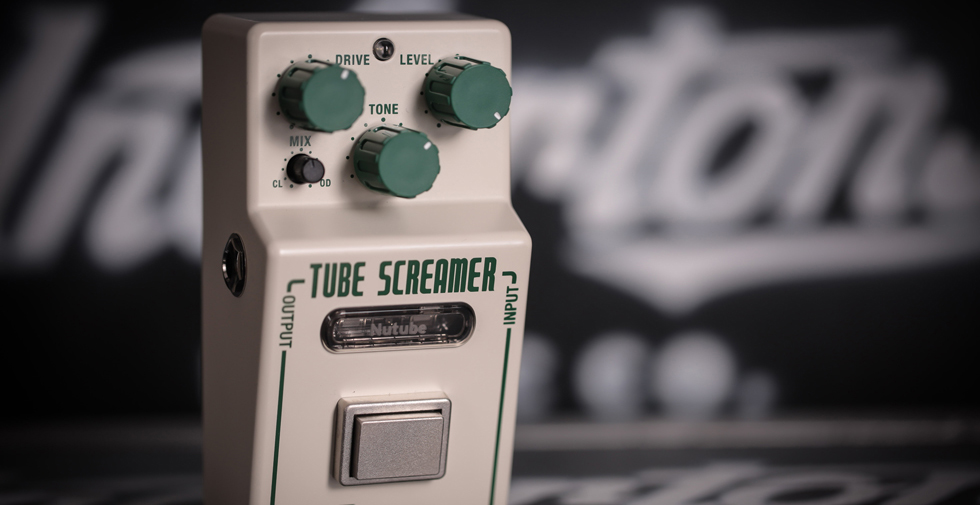
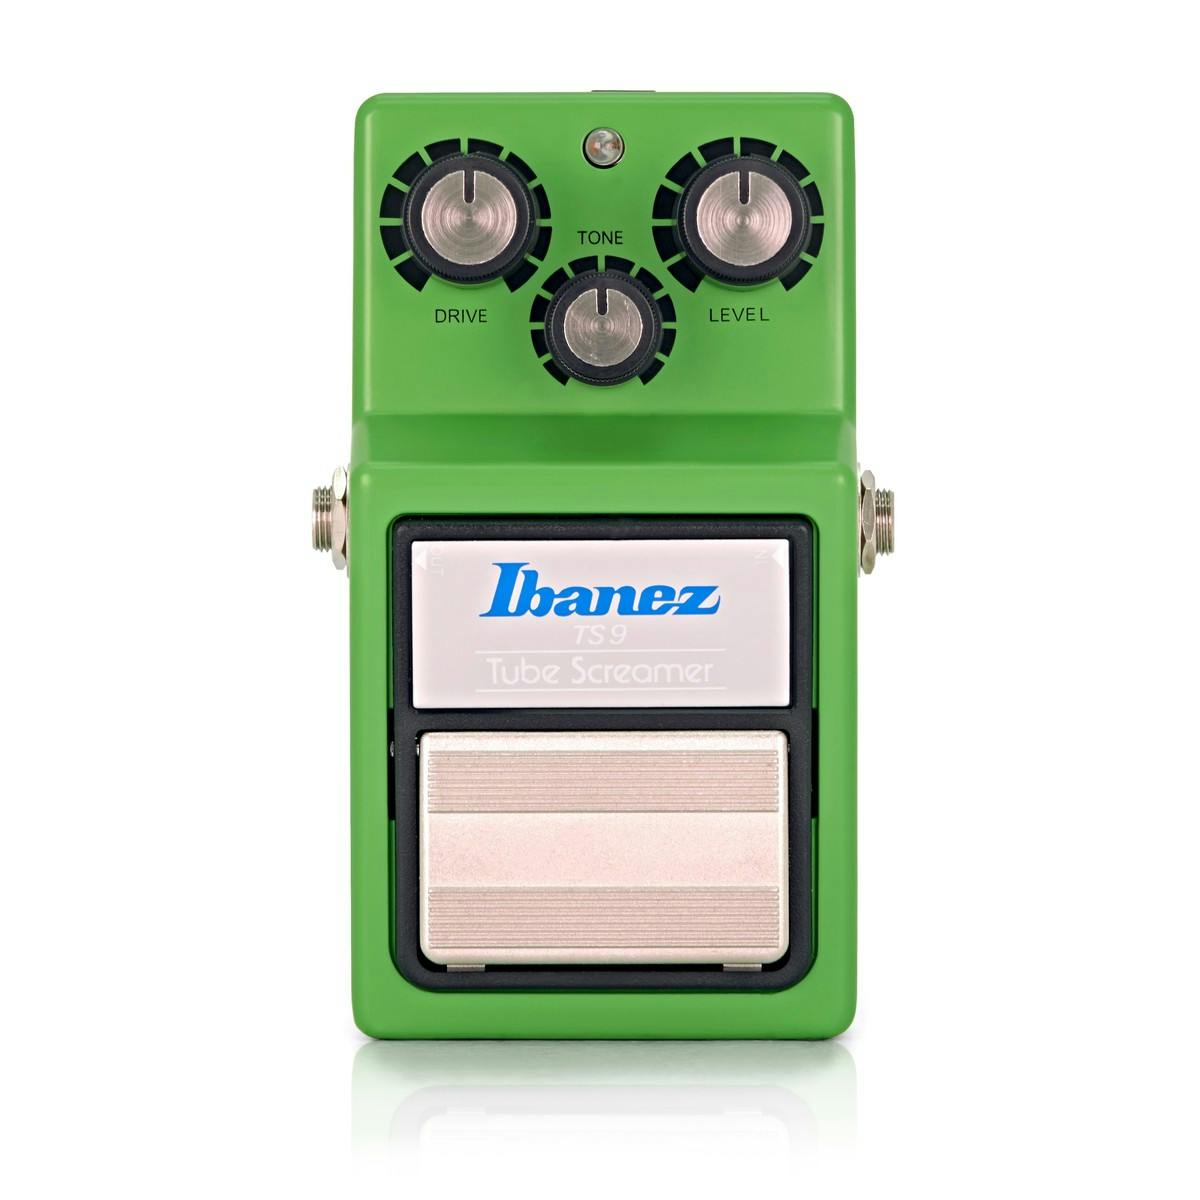
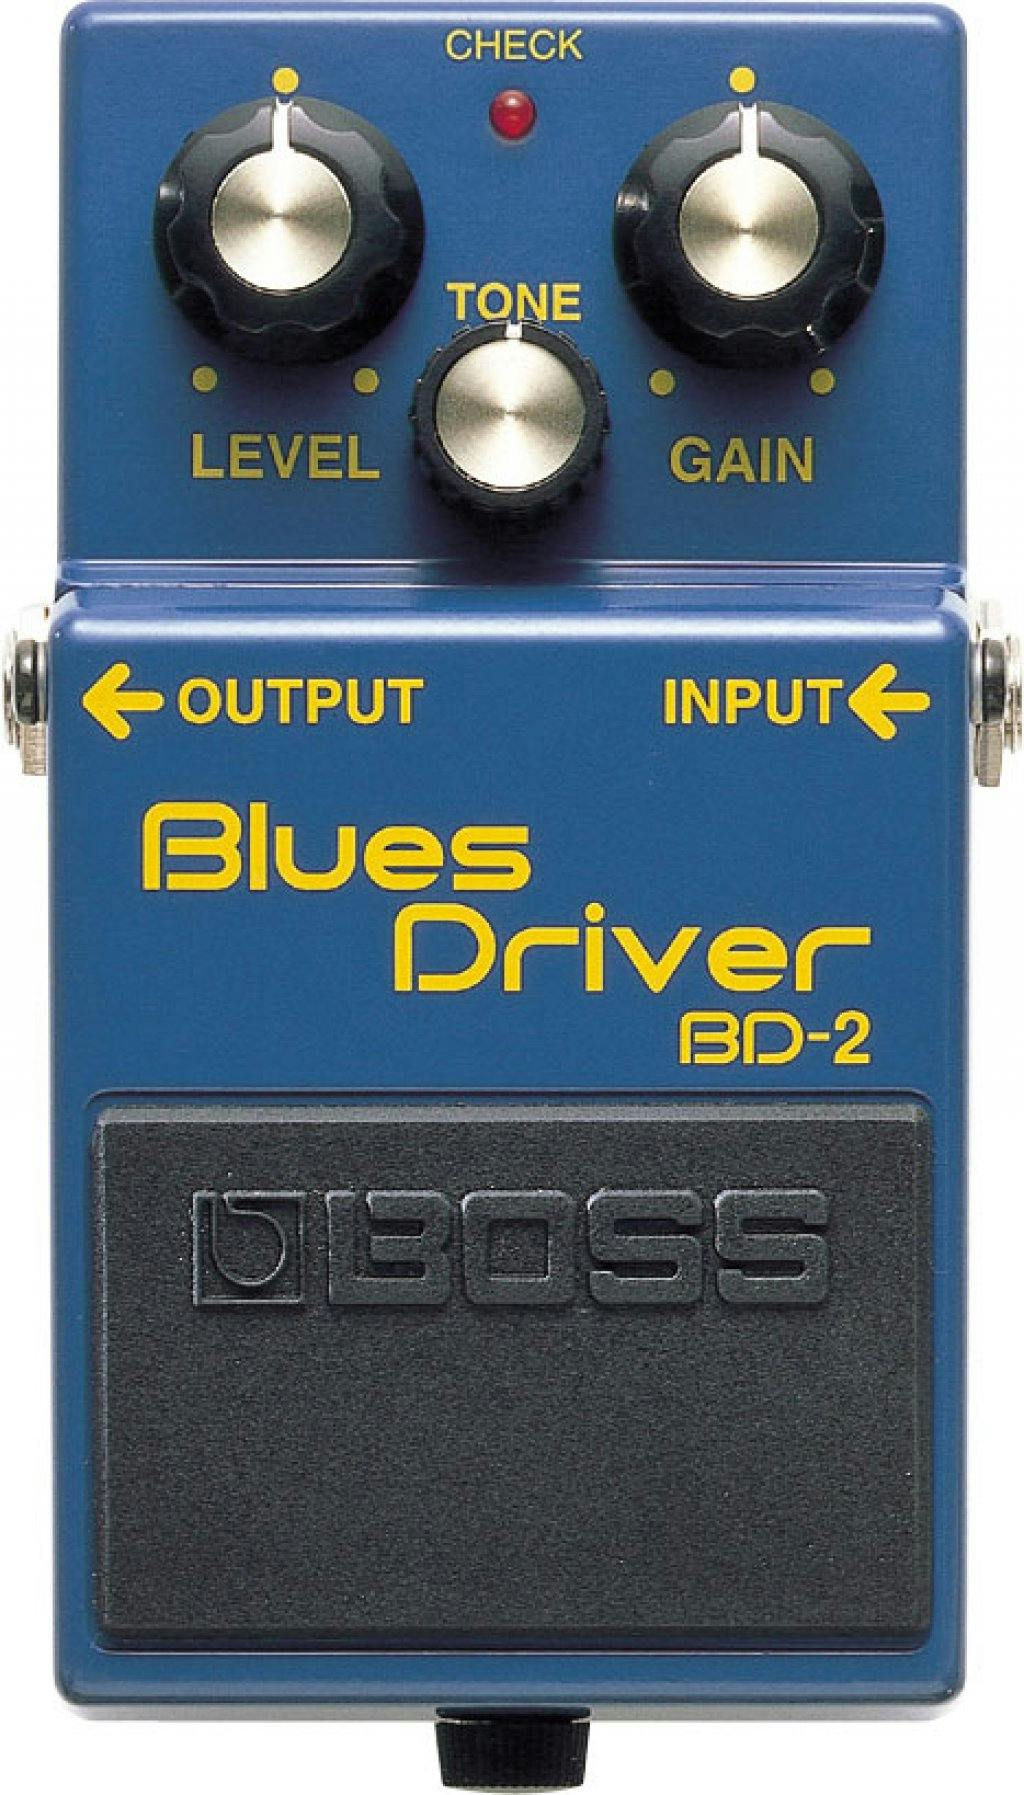
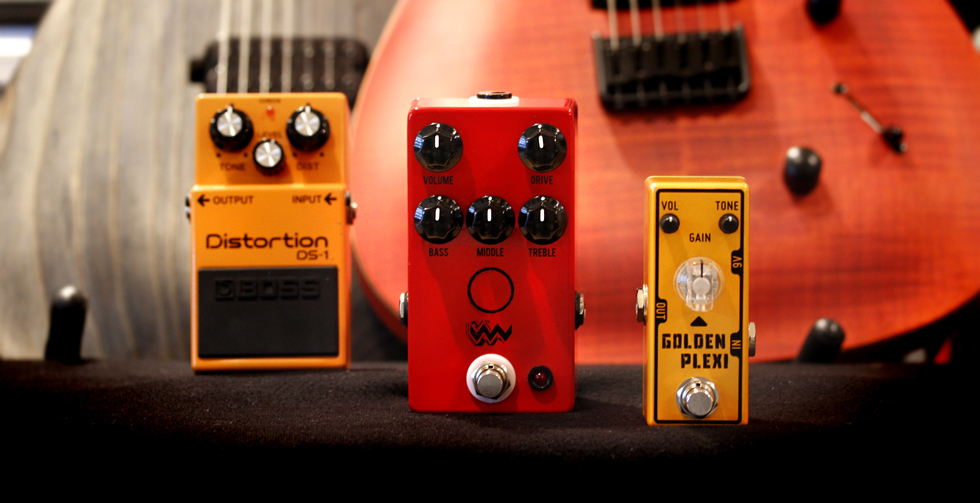
If you’ve done some research on guitar forums already, you may have noticed that the order of overdrive and distortion pedals is heavily debated. You’ll get different results depending on which comes first, and again, it depends only if you want to use them together. If you use an overdrive into a distortion, the overdrive will somewhat tighten its sound and give it more saturation. The other way around, and the overdrive will probably give you a volume boost.
How To Use Your Amp’s Effects Loop
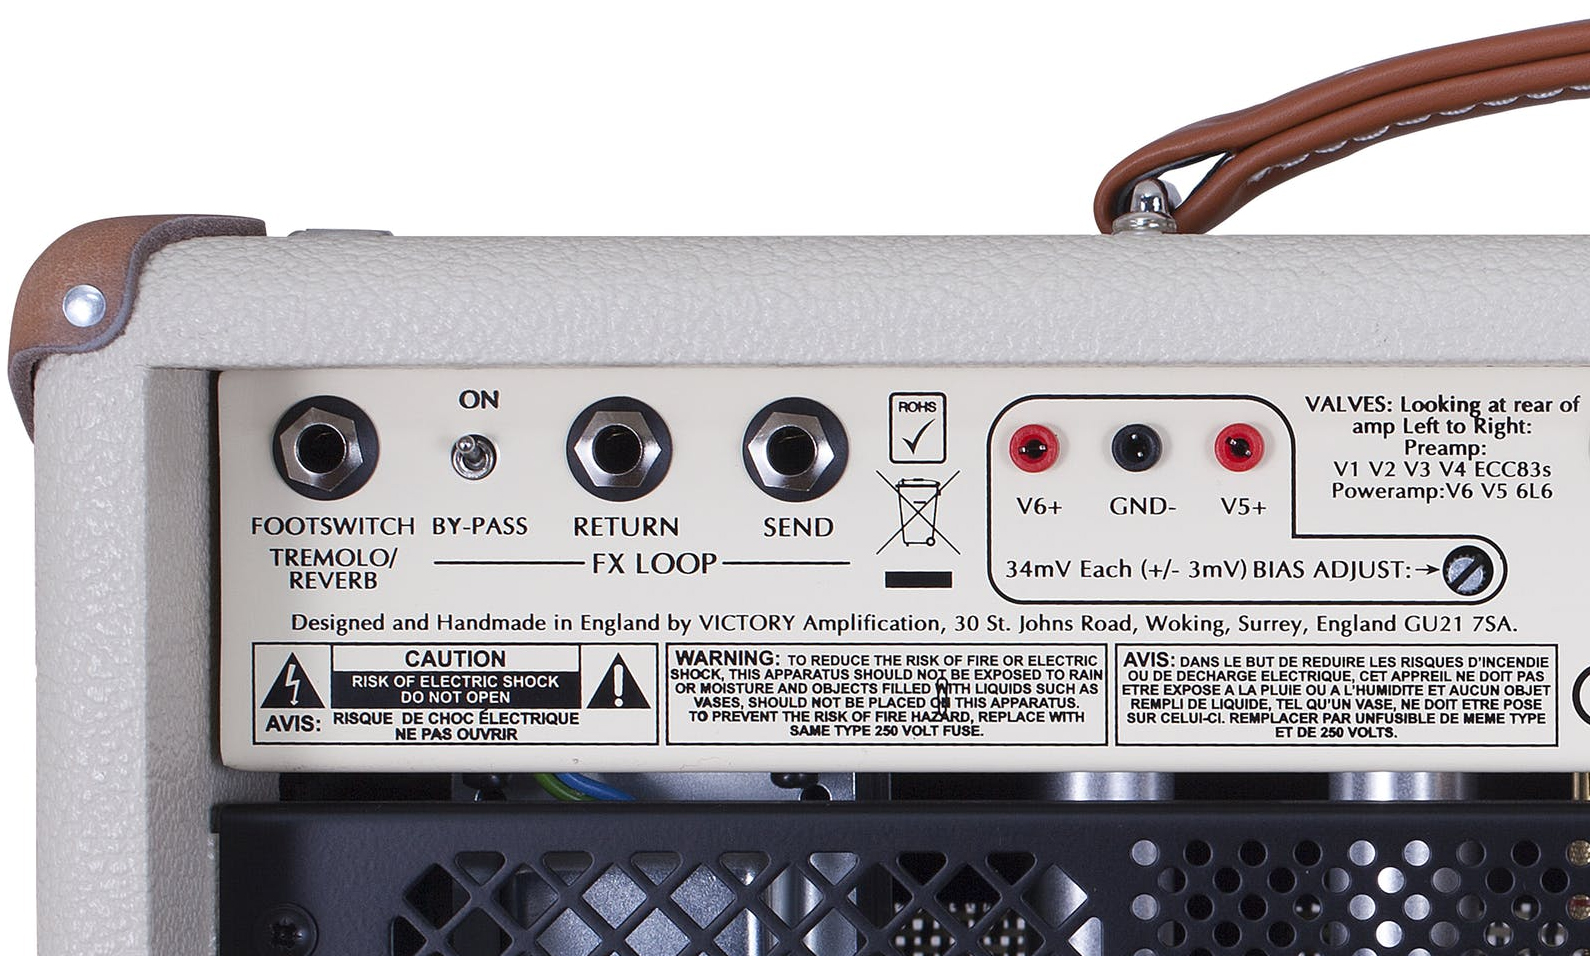
‘Send’ and ‘return’ refers to your amp’s effects loop. Don’t know what that is? That’s fine, just check the back of your amp and see if it has any inputs marked with those names. If the answer is no, then skip this section and organise your pedals in the same order as the diagram (from your distortion > chorus > delay > reverb > amp input).
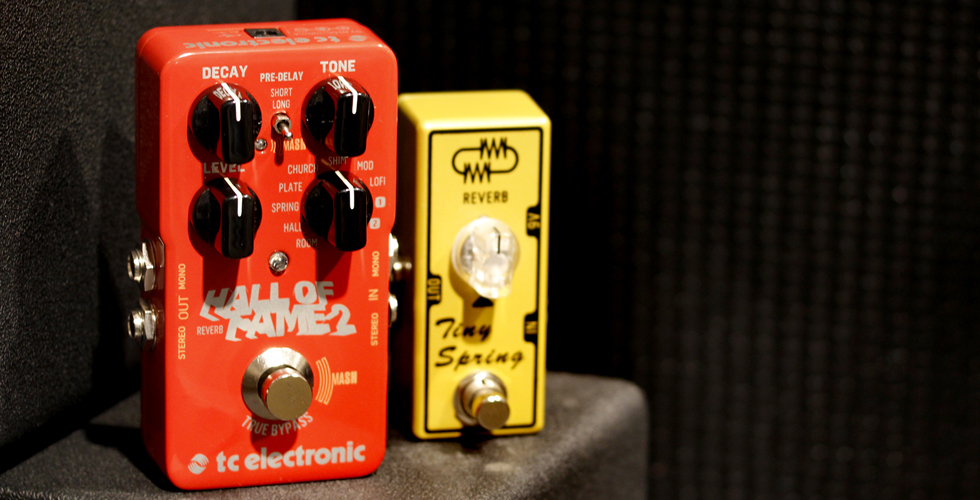
If your amp does have an effects loop, then it’s best advised to run your modulation and time-based effects through it. This basically put your effects between your amplifier’s power and preamp sections. Without getting too technical, this lets the chorus, delay and reverb pedals sound more natural and less ‘in-your-face’.
All you’d need to do is run a cable from your amp’s ‘send’ to the input of your chorus pedal. Your chorus should be placed before your delay pedal, so that the delay repeats are of the modulated signal. This sounds much clearer than adding a modulation effect after a delay.
Your reverb pedal should always be last in your effects loop chain. This is so that it is adding ambience on top of everything before it, like a natural reverb effect would. The reverb pedal output should then be connected to your amp’s ‘return’ input.
How Do I Arrange Pedals On My Pedalboard?
Pedal arrangement is something specific to you. If you’ve decided to buy patch cables, you won’t have much flexibility on the layout of your pedals. However, with a cable kit you can place your pedals wherever you like and still connect them together without difficulty.
If you’re using a wah pedal, then you should mount it on the side of your pedalboard that you feel most comfortable using it with your foot. Simple! However, with the rest of your pedals, you should ask yourself about which ones you’re most likely to use. For example, your distortion and overdrive pedals are likely to get regularly stamped on. Therefore, it makes sense to place them at the front of your pedalboard.
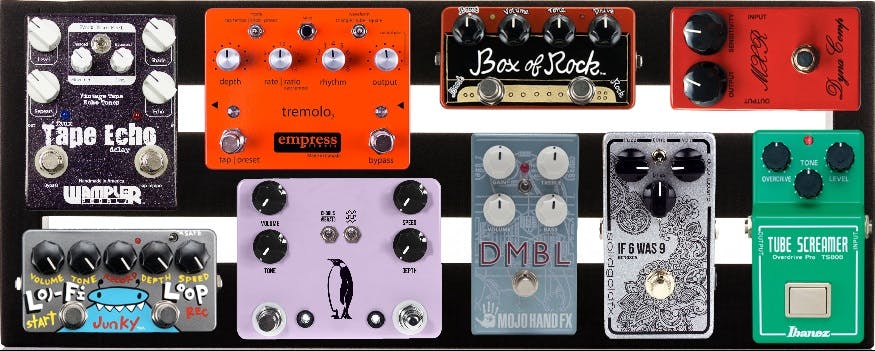
You’d also need to think about which pedals you’re likely to use with one another. We alluded to this in the signal chain order section, but if you always use delay when you’re playing a solo, it should be near enough to your overdrive and distortion pedals. This is so that you can quickly engage/disengage them together without tap-dancing all over the place! Before you firmly attach them to your pedalboard, just place your stompboxes loosely on the velcro, or draw out a diagram to remember their order.
Mounting Your Pedals and Connecting Them Together
Now that you’ve established the order of your signal chain and the positions of your pedals, it’s time to get them wired up! We think that it’s better to sort out the power before you start messing around with your patch cables. This is so that you can test that all of your pedals are working before you sort out the rest of the board.
How To Connect Your Pedal Power Cables
Like we recommended earlier, double check the voltages and current requirements of each of your pedals before making any connections. Make a note, and then decide which outputs on your power supply will work for each stompbox. Next, use the supplied cables to connect your pedals to your power supply. After that, plug into your mains to check that all pedals are working correctly.
Once you’re happy that they are functioning, unplug from the wall. At this point, you can use cable ties to group the loose pedal power cables together underneath your pedalboard. You can even tie them to the rails of your board for extra neatness! This will ensure that they are out of the way and not interfering with your patch cables, which brings us on nicely to the next section…
How To Connect Your Pedals With Patch Cables
This is dependent on which cables you decided on going for. With regular pre-made patch cables, you’ll just need to feed the output of one pedal into the input of the next one in the signal chain. Of course, if you’re using patch cables, you would have made sure that your pedals were positioned in the order of your signal chain, so that the short patch cables can reach.
If you chose the pedalboard cable kit route, you can start making your own custom patch cables. Different kits have certain instructions when it comes to attaching the jack connectors to the cut cable. Just always do it carefully and as the manufacturer says. It’s common sense, but also make sure that you cut your cables as straight as possible. Remember to cut a bit more than the length you need, to prevent any cables from being too short.
Summary
We hope that our extensive guide to on how to set up your first pedalboard was helpful! You’ll now have a versatile selection of pedals to give you more sounds and creative freedom. New pedals are constantly being made and innovated, and the world of pedals is nearly endless.
But ensuring that you have a solid foundation for your stompboxes is more important than the pedals themselves. And with your new pedalboard, you’ve got one!
If you’re more of a visual learner, then this helpful video from Danish Pete and Joss will offer some valuable insight too! For all of our videos on Andertons TV, click here.
Responses & Questions