How To Tune a Drum Kit

One question we always get asked is “How do I tune my drum kit?” There’s no doubt that tuning drums can often seem like something of a dark art.

There are whole books dedicated to finding the perfect drum sound. However, the fundamental principles on how to tune a drum kit are fairly simple...

Jed

Jed

How to Tune a Drum Kit

  1. Begin with both heads removed and first wipe down the bearing edge of the shell. The bearing edge is the angled edge of the drum shell where it meets the drum skin. Any debris here can damage the shell when the head is in place and affect the sound of the drum.
  2. Now take either head, fit it on the drum and place the hoop on top. Take each tension rod and screw them in until they are finger tight. Make sure you tension them evenly as this will make the rest of the tuning easier.
  3. Using a drum key, tighten each tension rod by 1 turn. Work across the drum tightening opposite rods, i.e. start at 12 o’clock (1 turn), 6 o’clock (1 turn) and move around the drum until you’re back to your starting point. This should be repeated until the drum skin is somewhere close to your target pitch.
  4. Now to fine tune, tap the drum head at each tension rod, about 1 inch from the rim and listen to the pitch. Move around the drum and consider which tension rods need to be tightened or loosened so they all are at the target pitch. Continue tapping, listening, tightening and loosening all around the drum until the pitches are the same and you are satisfied with the sound.
  5. Repeat this for each head on each drum of the kit.

What will I learn?

  • How drum heads affect the tuning of a drum kit.
  • How to tune your drum kit.
  • The best way to tune your drum kit if you aren’t comfortable doing so by ear.
  • What ‘dampening’ does to your drum sound

Do Drum Heads affect tuning?

The correct choice of drum head is arguably the most important part of getting a good drum sound. A good set of heads can make the most basic kits sound amazing while poor quality and badly tuned heads will always sound unpleasant. Remo and Evans are two of the biggest names in drum heads and make a wide range of great quality drum skins that have the potential to make your kit sound great.
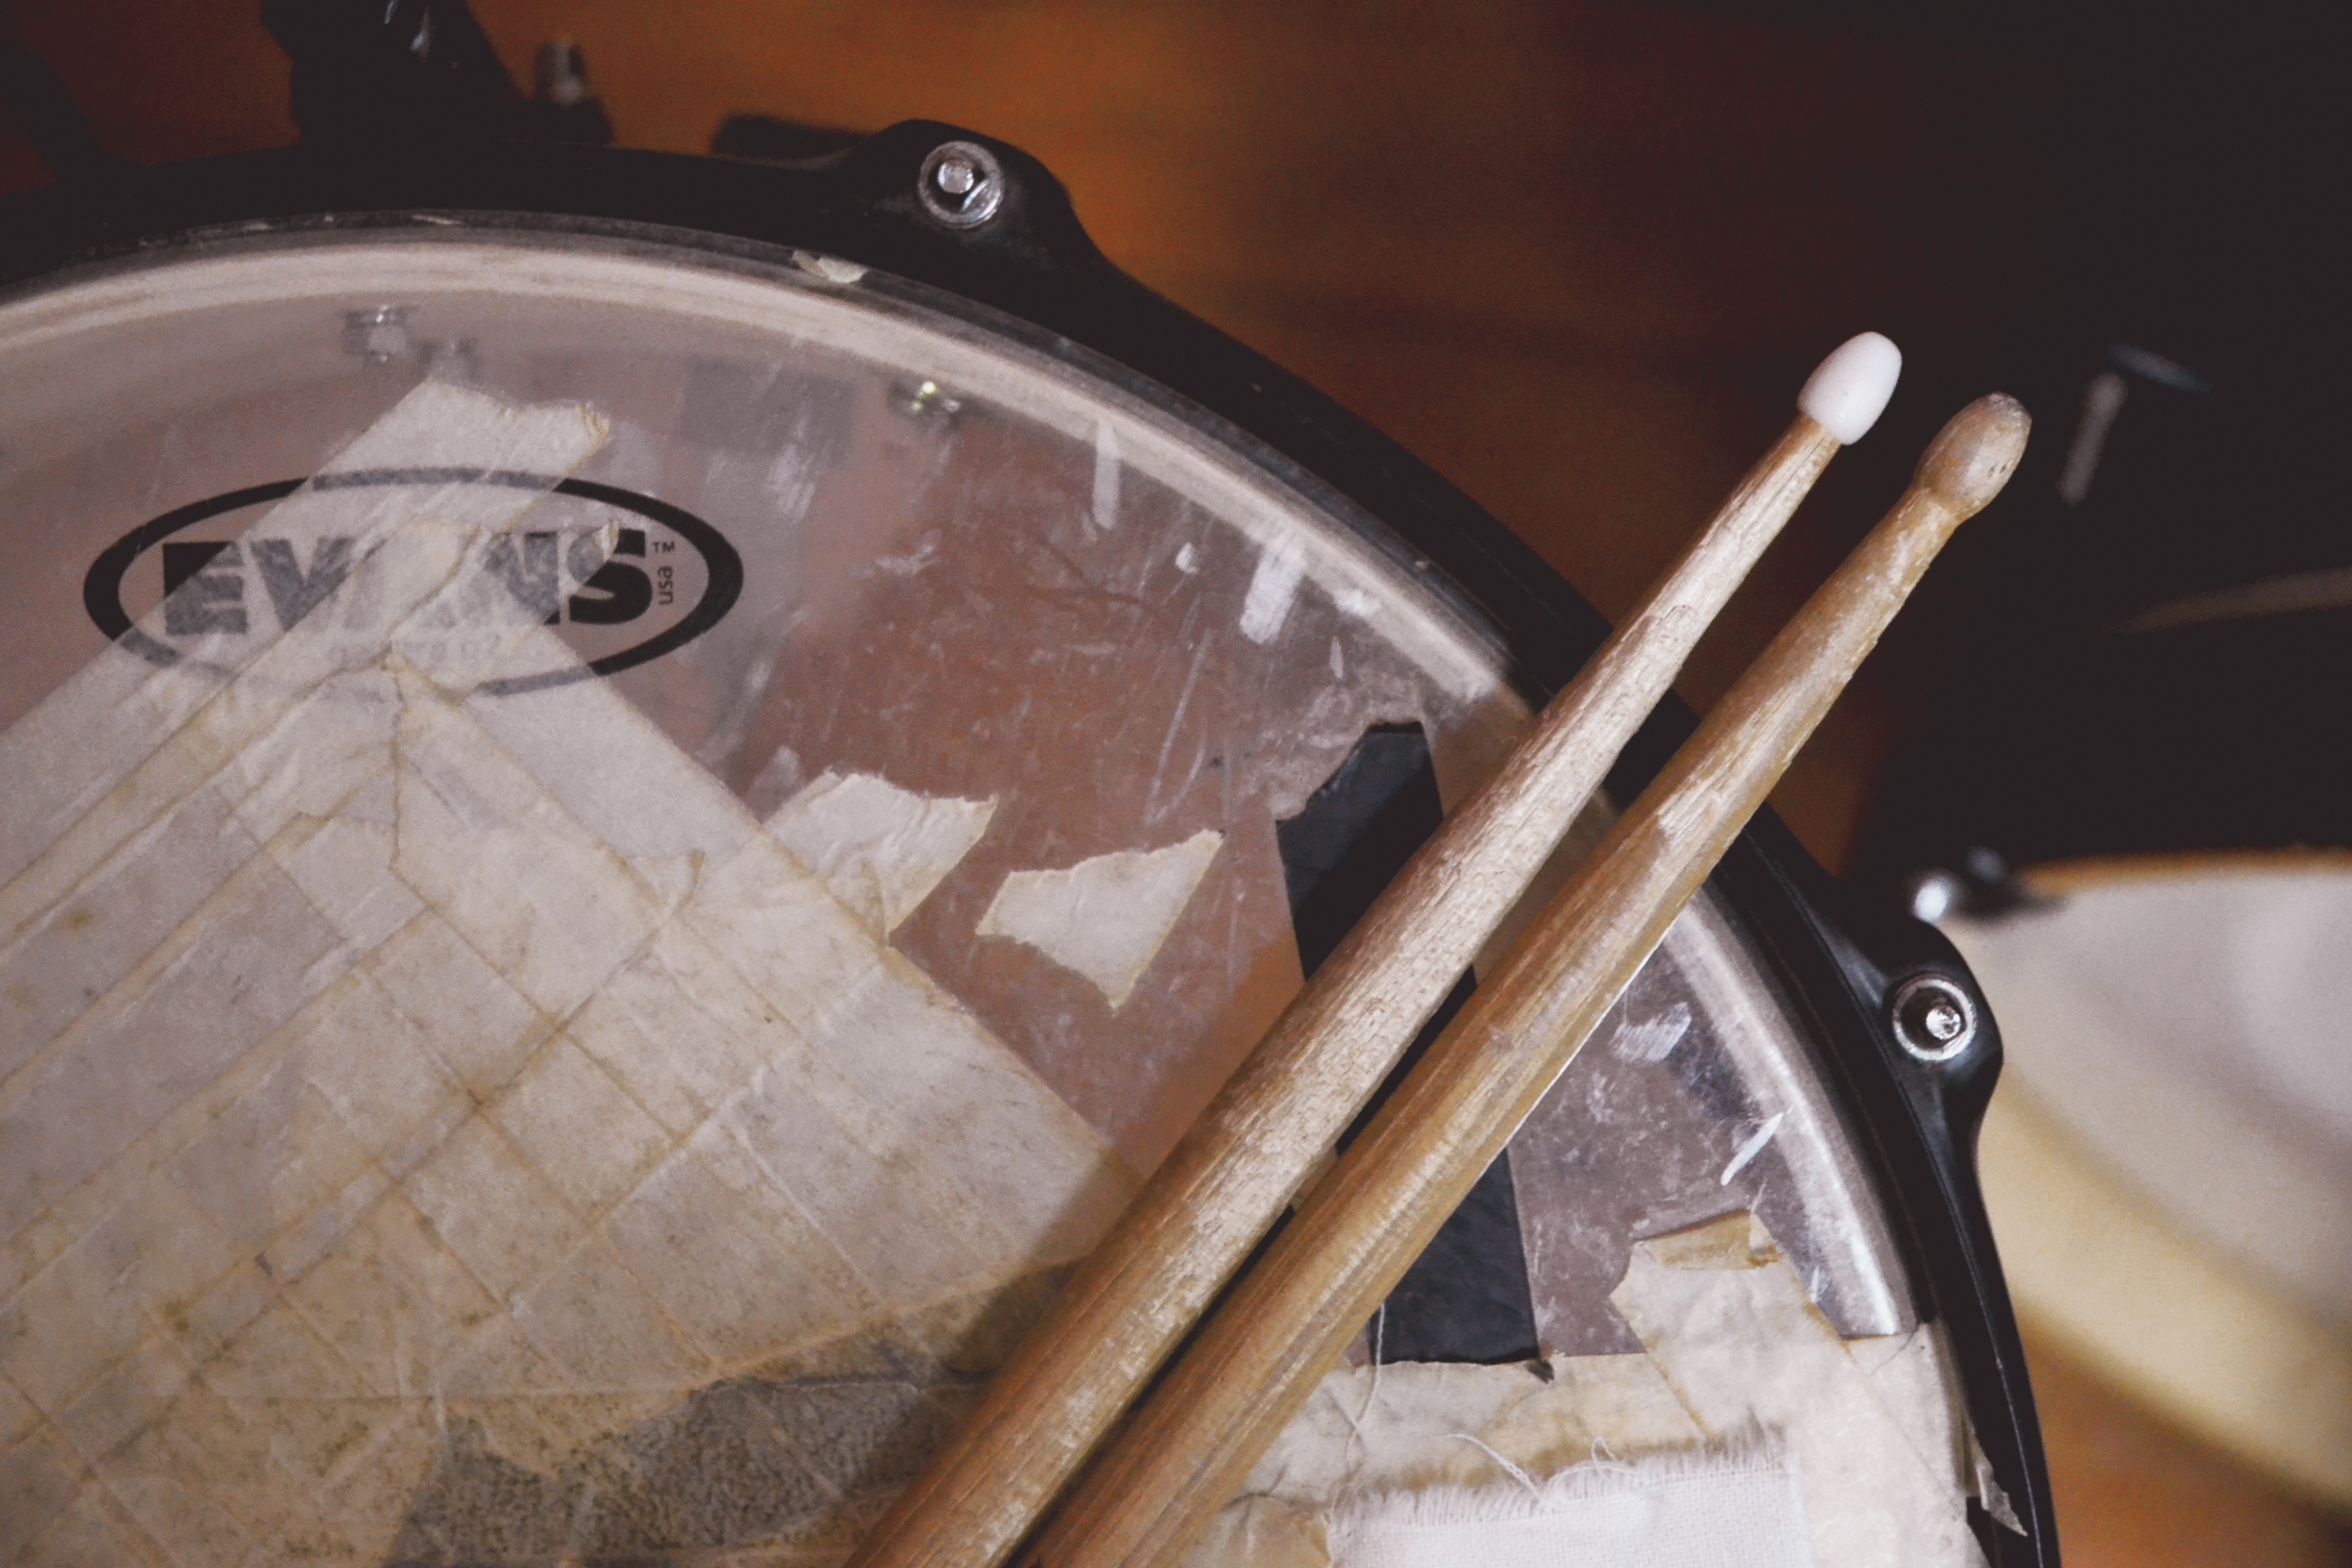
Evans Drum Head

Drum head Tuning Basics

  • To get a well tuned drum kit you need to achieve several goals. First, each head must be in tune with itself. Second, the batter (top) and resonant (bottom) heads must be in tune with each other. Finally, each drum must be in tune with the kit as a whole.
  • A drum head is in tune with itself when there is an even tension across the head. You can be sure that this is the case when the pitch created by striking the drum head next to each tension rod is the same. It can also be beneficial to tune each head to a specific pitch, e.g. tuning a snare drum batter head to a C.
  • Tuning the resonant and batter heads to one another depends on the pitch interval between them. If our snare batter head is at a C we could tune the resonant head to the A below (a minor 3rd). Tuning the bottom head lower will generally create a deeper sound, and higher will make the drum more open and resonant. There is no right choice of interval and you should experiment until you find a sound you like.
  • When considering the kit as a whole, the pitches of each drum should compliment one another. You can even consider tuning the kit to a musical scale: Our snare drum tuned to a C (dominant) could be accompanied by a kick tuned to an F (tonic) and toms tuned to other notes of the F major scale.
  • When deciding on a scale to tune to you should be sympathetic to the key of the song being played. This concept is particularly effective when recording one song at a time in the studio, though when playing multiple songs live it becomes harder to find a tuning to match each.

How to Tune a Drum Kit – Step By Step

  1. Begin with both heads removed and first wipe down the bearing edge of the shell. The bearing edge is the angled edge of the drum shell where it meets the drum skin. Any debris here can damage the shell when the head is in place and affect the sound of the drum.
  2. Now take either head, fit it on the drum and place the hoop on top. Take each tension rod and screw them in until they are finger tight. Make sure you tension them evenly as this will make the rest of the tuning easier.
  3. Using a drum key, tighten each tension rod by 1 turn. Work across the drum tightening opposite rods, i.e. start at 12 o’clock (1 turn), 6 o’clock (1 turn) and move around the drum until you’re back to your starting point. This should be repeated until the drum skin is somewhere close to your target pitch.
  4. Now to fine tune, tap the drum head at each tension rod, about 1 inch from the rim and listen to the pitch. Move around the drum and consider which tension rods need to be tightened or loosened so they all are at the target pitch. Continue tapping, listening, tightening and loosening all around the drum until the pitches are the same and you are satisfied with the sound.
  5. Repeat this for each head on each drum of the kit.

Dampening

The final thing to consider is dampening the drums. This can help eliminate any nasty overtones and is done by restricting the vibration of the drum head. You can buy products such as Moongel to do this, which sticks to the drum head and does a great job of controlling its sound. Alternatively you can stick tape (usually gaffer tape) to the head, which I find is improved by sandwiching some tissue, sponge or a spare cymbal felt between the tape and the head.

Some drummers like to put rugs, pillows or even duvets in to their kick drums to dampen them. Be careful though, dampening your bass drum too drastically will really it’s impact. Instead of being that pounding four-to-the-floor sound you were after, it will be lost in the mix. It’s also worth bearing in mind that you cannot easily remove these items mid-gig without having to re-tune your bass drum!

Your Sound

Now we’ve covered how to tune a drum kit, it’s time to look at what sound you want. You might be wondering how much difference tuning can actually make. Below is a video we made comparing two snare drums. Each snare drum was tuned three different ways to get an idea of the full range of their sonic-character.


Drum Keys

Make sure you’re never without the most essential tool in any drummer’s toolkit.

Drum Tuners

A lot of drummers do their tuning by ear. If you’re not as confident, or want to try more ambitious tunings we have some great drum tuners to help you out!

Conclusion

I like to experiment with the sounds of my drums and it’s good practice to search out sounds you haven’t heard before. Experimentation lets you find new timbres that will change your sound and ultimately the way you play. After all it’s no fun if we all sound the same.

However, if you are tuning your kit for a specific purpose it’s worth doing some research in to the genre you like to play. What do your favourite drummers do? Listen to songs in the same style. Do your research and get an an idea of the drum sound you are aiming for.

Your playing environment will also affect your sound, the acoustics of different rooms will change the sound of your kit. So in a brighter sounding room you may want to tune the kit down to make it darker and vice versa.

Finally you should consider the musicians you’re playing with. Tune your kit to compliment the rest of the band, trust me it’ll make a world of difference.

Ever wondered how to make drums sound quieter? Read our ‘7 Ways To Make Drums Quieter‘ guide!

Did you enjoy reading this article? Leave a comment below and share your thoughts!

Interested in finding out more about music gear and expanding your knowledge? Click here to view all of our Learn articles.

Jed
Jed
Jed has worked on our shop floor, handled guitar content on the site and now leads the digital content team. He's equal parts rock frontman/guitarist and wannabe folk singer-songwriter. Jed's a PRS, Tele and Orange Amps lover with an unhealthy obsession with fuzz, octave and ambient effects.

Responses & Questions

Leave a Reply