
- What Is an Impulse Response (IR)?
- Why Use an Impulse Response?
- IR vs Cab Sims vs Amp Sims
- How are Impulse Responses Created?
- How Do You Use Impulse Responses in Your Rig?
- Where Can You Get Impulse Responses?
- FAQs
- Unlock Your Best Tone with Impulse Responses
Impulse responses – or IRs for short – have become a bit of a guitar buzzword in recent years. Guitarists from all walks of life, from bedroom producers right up to arena-level players, are turning to IRs to help craft top-notch tones without the need for big cabs, loud amps, or a studio full of mics. But just what is a guitar impulse response?
These digital marvels are particularly handy for home recording, silent practice, and running guitars directly into house PAs from the stage. But if you’re not quite sure what they are (or why you need them), don’t worry: it’s not as complicated as it sounds, I promise! Keep reading for everything you need to know about what impulse responses do, how they work, and why they might just be the best tone sculpting tool you didn’t know you needed.
What Is an Impulse Response (IR)?
In the simplest terms, an impulse response, or IR, is a digital snapshot of how something, typically a speaker cabinet, a room, and/or a microphone setup, responds to a sound source. In the case of electric guitars, that sound source is usually a guitar amplifier. Imagine clapping your hands in a big hall and listening to the echo – that echo contains all the unique acoustic information of the space you’re clapping in. And in the world of guitars, an IR does something pretty similar: it captures the sonic characteristics of a speaker, mic, and room, all wrapped up into one tiny audio file.
You can then load these files into amp modellers, pedals, or software, where they accurately simulate the sound of a real cabinet or mic setup, all without actually needing to mic anything up. It’s a great way to bring some studio-level realism to your tone, no matter whether you’re cutting a demo, on the stage, or just jamming at home. With the right IR, you can take your direct guitar signal sound and make it sound like it’s coming through a high-quality Celestion speaker in a vintage 4×12, miked up to the nines in an expertly treated, world-class studio – all without waking the neighbours!
Why Use an Impulse Response?
If you’re chasing a knockout guitar tone, why do you even need to worry about using an impulse response? After all, it’s the amp that creates your sound, right? Well, it’s not quite that straightforward…
In theory, yes – it absolutely is your amp that creates your tone. But in practice, there’s so much more that goes into your final sound. The cab you pair your amp with, and especially the speakers inside it, can have just as much impact on your tone as the settings on your valve amp. Without a good quality cabinet to shape and project the sound, you might find that your final tone is a raw, harsh, and often unpleasant signal that lacks the fullness and character your riffs need to sound their best on tape. But what if you don’t have the room at home for a massive cab, or you can’t play out at full volume for fear of causing a disturbance? Or maybe you want to try out a few different cabs to find the sound that best fits your needs.
That’s where impulse responses come in. They provide the missing link between amp and final tone, capturing the sound of a miked-up cab in a room and letting you bring that realism into your rig, wherever and however you’re playing. And as they cost a fraction of the price and don’t take up precious real estate in your room, it’s much easier to try out various simulated cab and mic combos with your amp to really nail that tonal sweet spot.
IR vs Cab Sims vs Amp Sims
With so many terms flying around, it’s easy to get a bit lost on this topic. But once you break it down, the differences are pretty straightforward.
An impulse response replicates the specific sound of a speaker cabinet, microphone, and room. It doesn’t include any of the tone-shaping features that an amp might have, like gain or EQ – it only cares about accurately capturing how the cab and mic combo colours your sound. If you want to add a realistic cabinet tone to your signal chain, other than actually miking up a cab, this is the best way to do it.
Then there’s amp sims. As the name suggests, this is software or hardware that attempts to model a full amplifier, often including the preamp, power amp, and sometimes even a built-in cab simulation. If you’ve got your heart set on that classic Soldano SLO-100 guitar tone but don’t have the budget (or the inclination to deal with noise complaints from your downstairs neighbours), this is a great way to get pretty darn close to the real thing.
Cab sims are somewhere in between. Like amp sims, they typically aim to recreate a certain piece of gear, in this case, a speaker cabinet. They’re typically relatively simple, often baked right into a cab simulator pedal or modelling software. But while that makes them pretty convenient, they can be less flexible or realistic than a dedicated IR, which will give you even greater control over your tone.
How are Impulse Responses Created?
Creating a guitar impulse response is a surprisingly scientific process. A short test signal – often a simple sine sweep or a burst of noise – is played through the cab that you want to emulate. This sound travels through the cab, gets coloured by the speaker, the mic, and the room it’s in, and is then captured using high-end microphones and recording equipment. That same recording is then analysed to isolate the ‘fingerprint’ of the setup – essentially how it responds across the full frequency spectrum.
Compare that result against the pure test noise, and the result is a detailed digital file that captures all the tonal nuances of that specific cab, mic, and room combo. Given the need for high-end equipment, exact mic placement, and careful recording and analysis, these impulse responses are often created by professional engineers with years of recording experience.
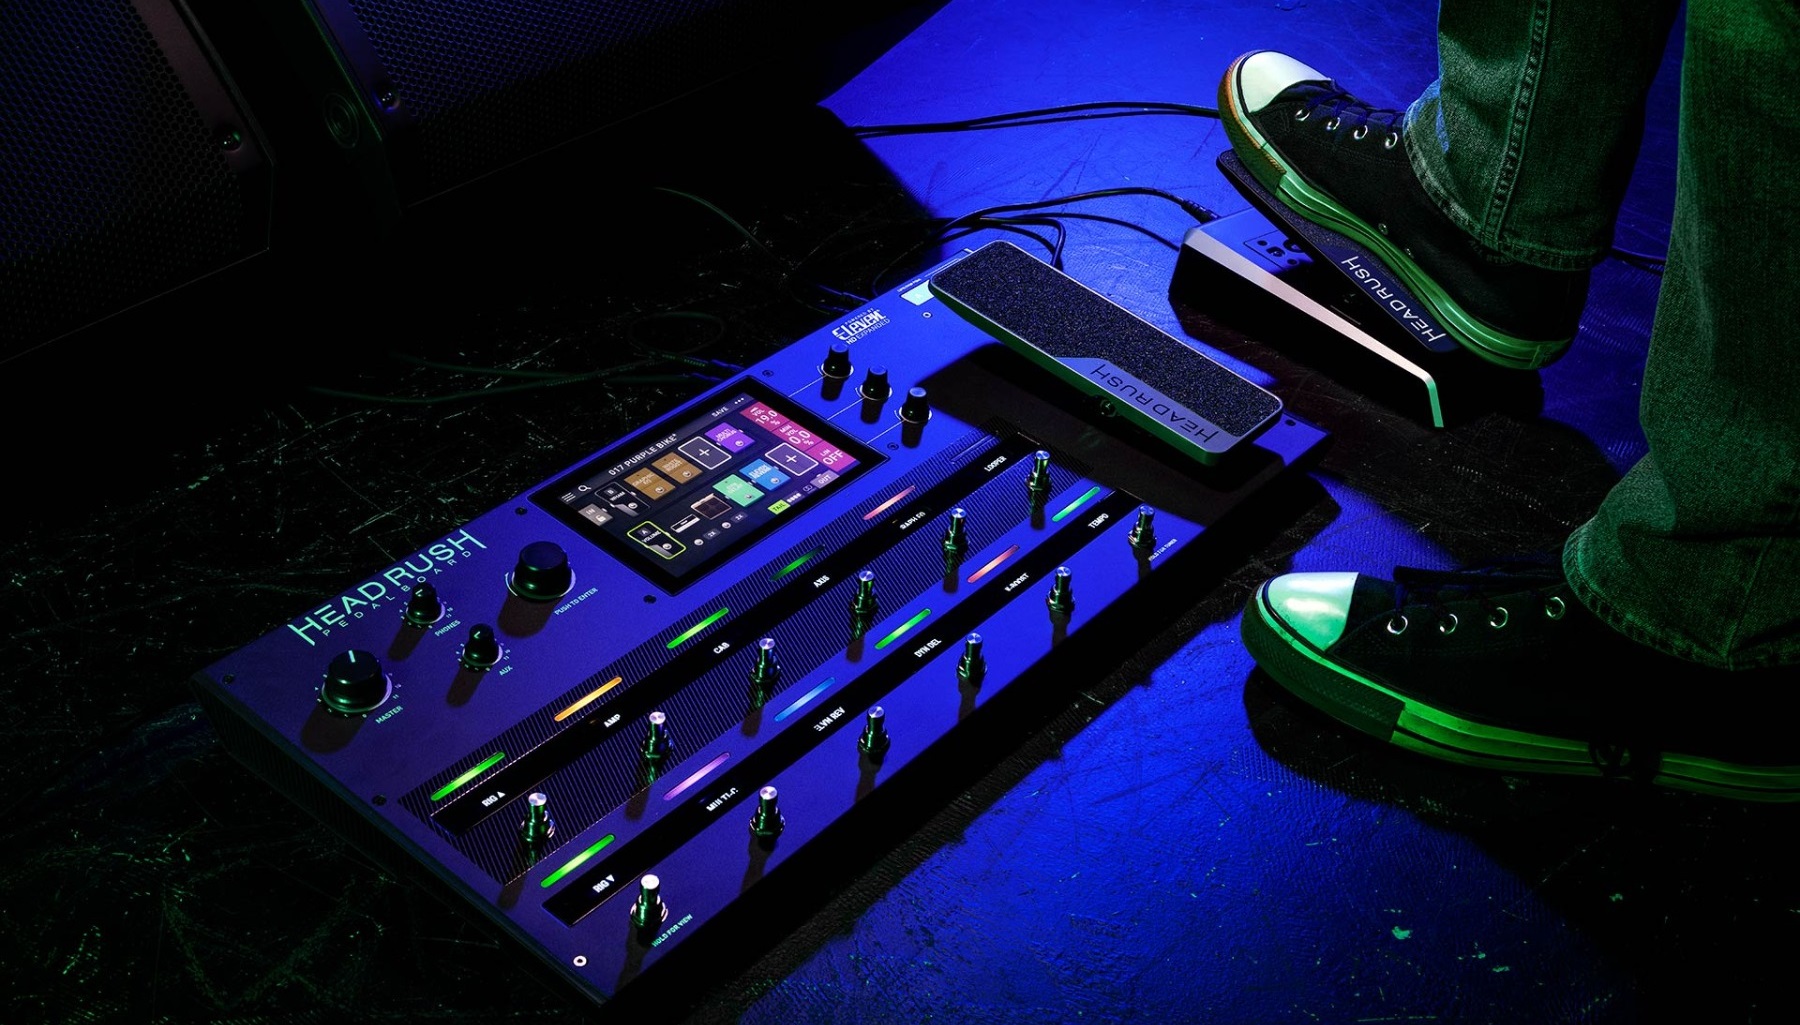
(above: many manufacturers offer easy ways of implementing your own impulse responses, including Headrush)
How Do You Use Impulse Responses in Your Rig?
There are a few different ways you can add impulse responses into your guitar setup, but the right option for you depends on how you play and what gear you’re using. One of the most common methods is through an amp modeller, like the Line 6 Helix, Kemper Profiler, or Neural DSP Quad Cortex. These fantastic pieces of kit allow you to load IRs directly, giving you the ability to pair your favourite amp sim with the perfect complementary cab sound.
Another route is using a dedicated IR loader. Depending on your preferences, you can tackle this with hardware solutions, like the TC Electronic Impulse IR Loader Cam Sim Pedal, or software in the form of a plugin that slots directly into your digital audio workstation (DAW).
If you’re running through a real valve amp but want to go direct to front of house or play silently, then you’re going to need a reactive load box from the likes of Two Notes or Suhr. With these tools, you can safely capture your amp’s tone and pair it with an IR, skipping the need for a speaker altogether – perfect for those late-night silent practice sessions.
Where Can You Get Impulse Responses?
As an increasing number of guitarists turn to impulse responses, they’re becoming more accessible than ever, with loads of free and premium options available online. A good way to find your feet is by downloading free IRs to experiment with different cabinet and mic flavours. But if you’re looking for some high-end realism or specific tones, it’s definitely worth exploring some of the well-known creators in the space.
Brands like Celestion, OwnHammer, Lancaster Audio, and ML Sound Lab are all highly respected players in the world of IRs, offering everything from vintage-voiced 4x12s to rare boutique cabinet emulations. These IR packs tend to combine legendary gear with studio-standard mic placements and techniques, so the end result is a tried-and-tested tone that many professional guitarists put to good use, both live and in the studio.
And if you’re in the market for quality gear that supports IRs, Andertons stocks a huge range of IR-enabled equipment, including pedals, amp modellers, and load boxes. So, whether you’re building a home studio, refining your stage rig, or just want to explore new tones, we’ve got a solution to match your playing needs and budget.
FAQs
How do you use an Inpulse Response?
You’ll need to load your impulse response into a dedicated IR loader plugin or hardware unit. Once it’s added to your chain, simply play your guitar signal and the IR will work its magic, simulating the sound of a specific speaker cabinet, microphone setup, or acoustic space.
Can you use an Inpulse Response with a Modelling Amp?
Yes! Many modelling amps let you load your own impulse responses, so you can further customise your tone. By using an IR with a modelling amp, you can combine the amp’s digital modelling skills with your preferred cabinet sound, giving you extra flexibility to help dial in an authentic tone.
Can you use an Impulse Response in a DAW?
Most digital audio workstations (DAWs) support IR loader plugins that let you import impulse responses. You can then apply these directly to your guitar tracks and simulate different cabinet sounds or spaces within your recording and mixing environment.
What’s the difference between an Impulse Response and a Cab Sim?
An impulse response is a digital snapshot of a speaker cabinet’s sound, captured by recording how it responds to a test signal. A cab sim, or cabinet simulator to give it its full name, is a software or hardware effect that more generally mimics a cabinet’s tone, sometimes using IRs but sometimes using other modelling techniques. To put it simply, IRs are a type of cab sim, but not all cab sims use IRs.
What’s the difference between an Impulse Response and a Reverb Algorithm?
Impulse responses capture the unique audio fingerprint of a physical space or device, like a cabinet or room, including any natural reverb that the room imparts. On the other hand, reverb algorithms use mathematical models to create artificial reverberation effects, recreating ambient effects by simulating things like natural echoes, EQ, and decay times. Both can be great options – it’s all just a matter of taste.
Unlock Your Best Tone with Impulse Responses
As daunting as they might sound at first, impulse responses are a quick, easy, and surprisingly effective way to take your guitar tone game to the next level. No matter what level you’re playing at, IRs offer the flexibility you need to craft authentic, professional sounds, and without adding bulky gear to your rig.
If you’re ready to plunge into the world of impulse responses, check out our wide range of IR-compatible amps and pedals, and start shaping your perfect guitar tone today.
Responses & Questions