
What is Autotune?
Autotune was first introduced in 1997 by Dr Andy Hildebrand. Andy was a Ph.D researcher exploring digital signal processing while studying electrical engineering. He first installed his algorithm for autotune on a custom Mac. After extensive development and testing, he showcased its potential at the NAMM show. This demonstration created clamour across the industry. To say it was an instant hit is an understatement.
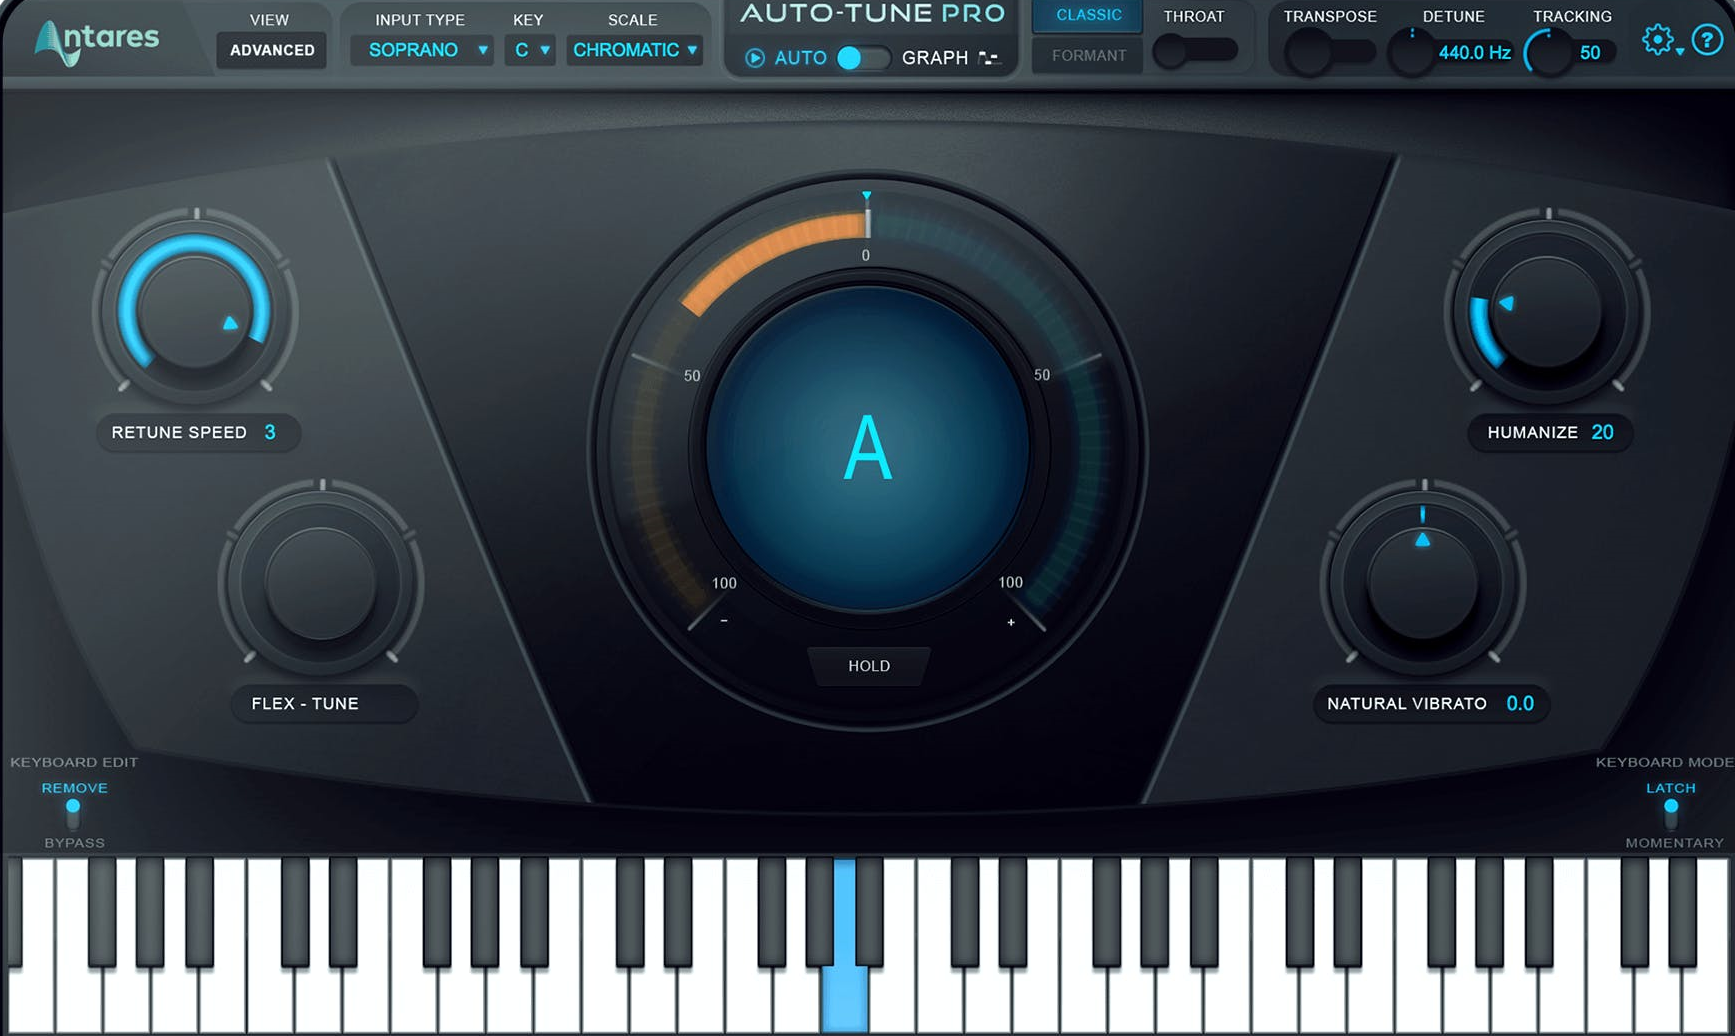
The word auto-tune is actually a product name – owned and trademarked by Andy’s company, Antares Audio Technologies. Other companies simply refer to their offerings as autotune. But what actually is it? It’s used to smooth out flat and sharp notes to ensure the singers voice is in the correct pitch. Once you’ve selected the pitch that the vocalist (or yourself) is meant to be singing in, the software will scan the vocal. It picks out notes which don’t fit the scale and moves them back into line at the right pitch. Autotune also makes the transition between multiple vocal takes smoother.
Where is Autotune used?
Fast forward and it was quickly incorporated as a plugin into Pro Tools. This software was recognised as the industry standard DAW then as it is now. You’ll also find autotune within other DAWs, studio equipment, or as a piece of standalone rack-mounted gear (which is ideal for live shows – although it’s usually frowned upon in this setting).
This technological innovation has forever changed modern music and the way that professional recording engineers, producers and studios craft a vocal track – especially within pop. Almost every big track in the charts utilises it in some way. Sometimes it’s more subtle; you may not even notice that it’s being used. While other times it’s not even trying to hide. It’s become a production tool as commonplace as compression, EQ, and reverb.
Autotune Examples
One of the first (and most famous examples of autotune) was the release of Cher’s single ‘Believe’ in 1998. The song relied heavily on the effect, with most of the dials intentionally tuned up to 11 (cheers, Spinal Tap). This created a robotic, otherworldly chorus that was new to listeners everywhere. It went on to become her bestselling song and one of the bestselling singles ever released.

Responses & Questions