


- Choosing your audio interface
- Recording guitar with plug-ins
- Recording a guitar amplifier
- Recording an acoustic guitar
- Recording with a modelling amplifier
- Recording bass guitar
There are a few ways to go about recording a guitar into a digital audio workstation (DAW) at home, and you certainly don’t need to be in a professional studio in front of a huge mixing desk to get great tones. The method you choose will come down to the specific type of guitar you’re recording, the sound you want to achieve and how you want to play – different styles and musical genres require different approaches after all. Let’s dive into your main options and the bits of gear you may need.
Choosing your audio interface
Before we get stuck into the specific methods of recording, a vital piece of gear you’ll need to bridge the gap between your guitar/amp and your PC is an audio interface. We’ve covered everything you need to know about audio interfaces in our complete guide, so head over there if you’d like some more info on how they work and what they can do. All you need to know here is that they convert your analogue guitar signal into a digital signal to record in your DAW.
Any affordable unit that accommodates either an instrument jack or XLR cable will do the trick.
Recording guitar with plug-ins
Recording electric guitars using plug-ins is the optimal way for most of us to achieve quality sounding tracks with little fuss. The process is accessible, affordable without sacrificing the great tones, which many professional musicians incorporate into their own music.
Even though some guitarists swear by the real hardware providing a more natural sound and playing response, the vast majority of listeners wouldn’t be able to tell the difference between plug-ins and a real amp in a head-to-head, especially once the guitar has been mixed into a song.
Plug-ins work as add-ons within your DAW, processing your dry guitar signal through virtual amps, cab simulation, and effects like reverb, overdrive and delay. The beauty of it is that you can record your guitar part once and experiment with endless tone variations afterwards – there’s no need to commit to a sound during tracking.
Guitar plug-in signal chain
- Electric guitar
- Guitar cable (and patch cables if you’re using effects pedals)
- Audio interface
- PC/tablet/smartphone with a DAW
- Amp, cabinet and effects plug-ins
What are the best guitar plug-ins for recording?
Neural DSP
The industry favourite, Neural DSP options include stunningly authentic amp profile suites and their renowned ‘Archetype’ series, giving you professional tones from top artists like Tim Henson (Polyphia), Misha Mansoor (Periphery), John Petrucci (Dream Theater), Cory Wong (Vulfpeck), Plini, Tom Morello (Rage Against the Machine, Audioslave), Tosin Abasi (Animals as Leaders), and Gojira. Plus, their X series plug-ins now integrate with the Quad Cortex hardware for seamless studio-to-stage workflow.
Positive Grid Bias FX 2 and Bias X
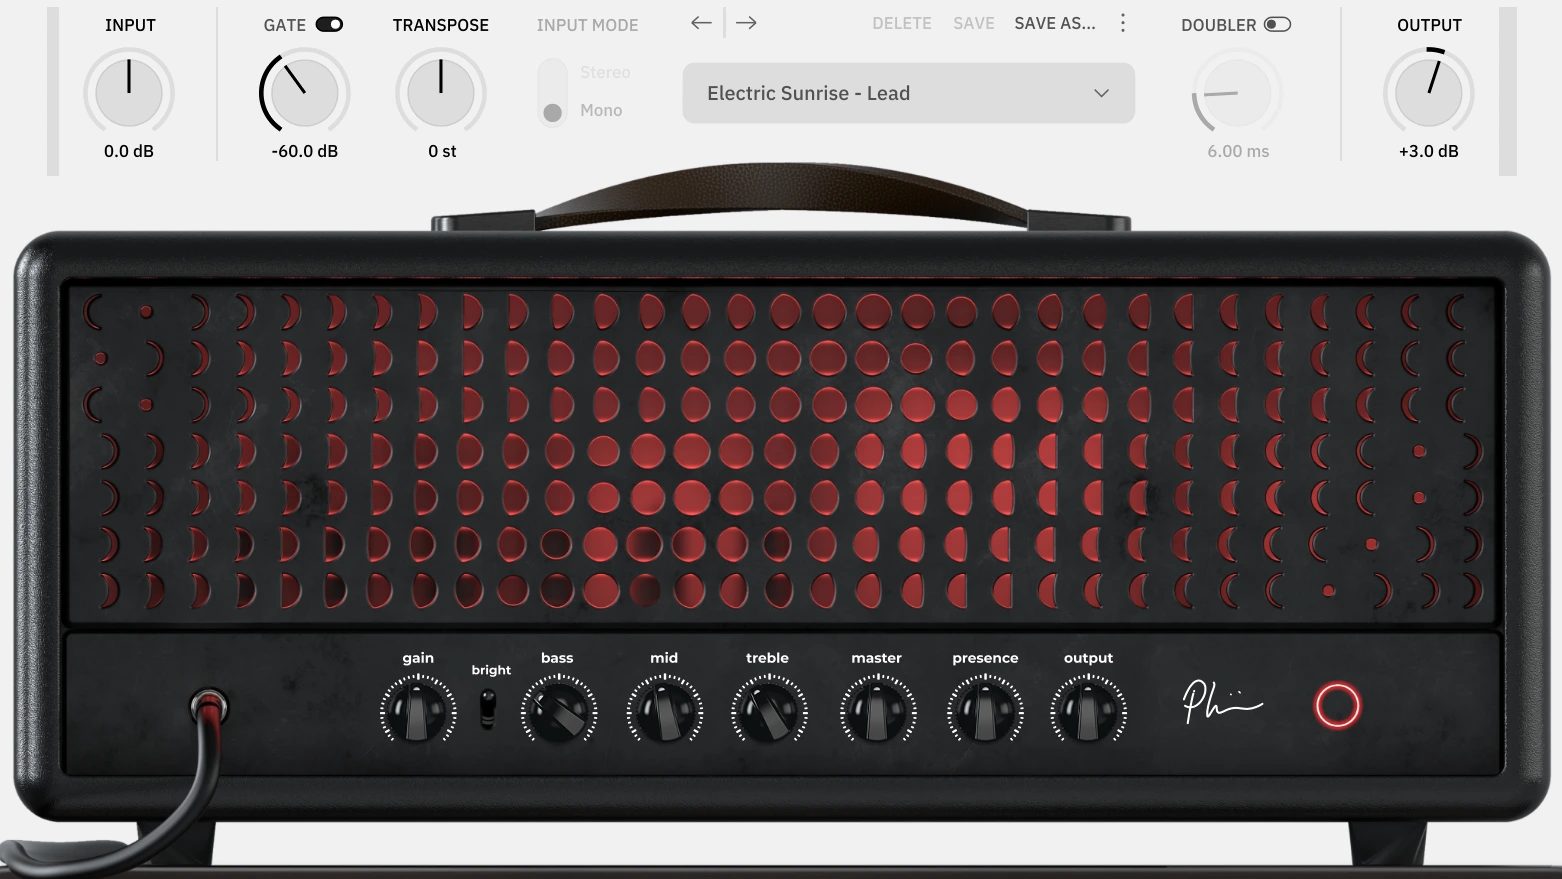
Positive Grid Bias FX 2 remains a comprehensive, reliable option for high-quality guitar tones that’s tried and trusted. The revolutionary Bias X uses “agentic AI” to generate complete guitar rigs from text prompts or by analysing reference audio tracks.
Line 6 Helix Native
The same amp, cabinet, and effects models as the Line 6 Helix hardware units. It provides top tier sound quality and is incredibly flexible, with a dazzling amount of sound tweaking possibility. If you want to dial in every minute detail of your tone, this is the pick for you.
Native Instruments Guitar Rig Pro 7
A trusted option with an exceptionally intuitive, welcoming interface. There is also a stripped-back version that’s completely free to download, making it a great choice for dipping your toes into the plugin world.
IK Multimedia Amplitube 5
IK Multimedia have made huge strides in competing with the very best modelling amps and plug-ins, assembling a comprehensive, refreshed amp and effect library.
Recording a guitar amplifier
This is the original and favoured way of many producers to capture the sounds of an electric guitar. The result is a crisp, fully authentic, full-range dynamic recording for any use of the guitar within any genre. However, it’s also the easiest recording to ‘get wrong’ and end up with a sound you’re not fully satisfied with. Many a producer has poured hours over the right guitar amp and speaker cabinet combination, the perfect microphone placement and the ideal preamps and compressors.
To get you started at home, let’s keep things as simple as possible.
Microphone recording signal chain
- Electric guitar
- Guitar cable
- Guitar amp
- Speaker cabinet (not required if you have a combo amp)
- Microphone (dynamic, condenser or ribbon – the choice is yours. For beginners I would recommend the dynamic Shure SM57)
- XLR cable
- Audio interface
- DAW
Optional extras include outboard gear like a compressor placed after the audio interface, but for a generally more affordable approach you can get this and different microphone preamps in plug-in form.
What’s the best type of microphone for recording a guitar amp?
In the context of recording guitar, you can sort microphones into three main groups:
- Dynamic – durable, directional microphones that are great for close-mic’ing
- Condenser – more sensitive, great for picking up more detail, require phantom power (every modern audio interface supplies this)
- Ribbon – great for detail without being too sensitive, also good for close-mic’ing
The ideal guitar amp volume for recording
To get started, set up your guitar as you would if you were playing at home. Adjust your volume to around 90 to 110 dB, which is considered the golden zone. Any quieter and your amp will sound a bit weedy, any louder and you could exceed your microphone’s sound pressure level (SPL) or audio interface’s preamp limits, leading to clipping distortion or unwanted high compression. There will be an indicator like a red light on your audio interface if you exceed the gain levels your interface can handle.
Valve amp attenuation
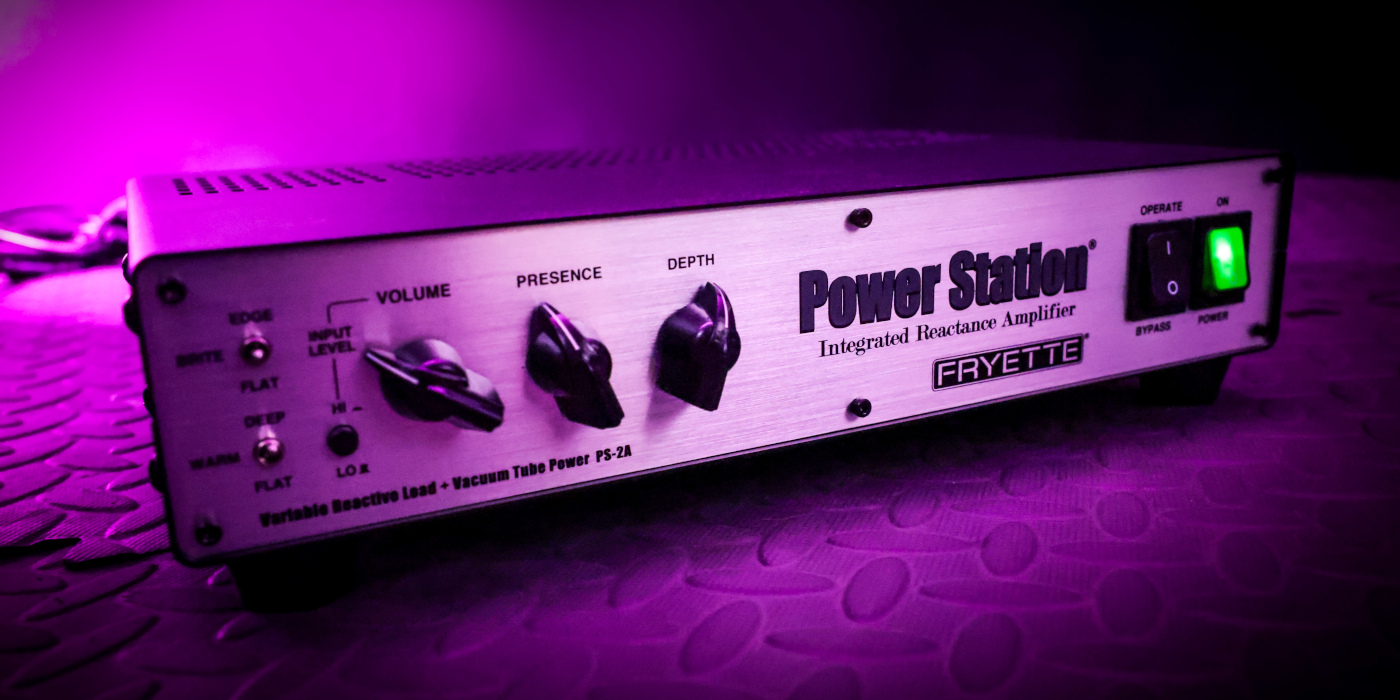
With valve amps, recording volume is particularly important as they’re widely perceived to sound better at high volumes because the valves are pushed harder, resulting in a hotter, more responsive sound. If you want cranked, rich tones at lower volumes without disturbing the neighbours or exceeding mic SPL, you can use an amp attenuator/loadbox which absorbs power from your amp and reduces your volume without compromising your tone.
How to mic up a speaker cabinet
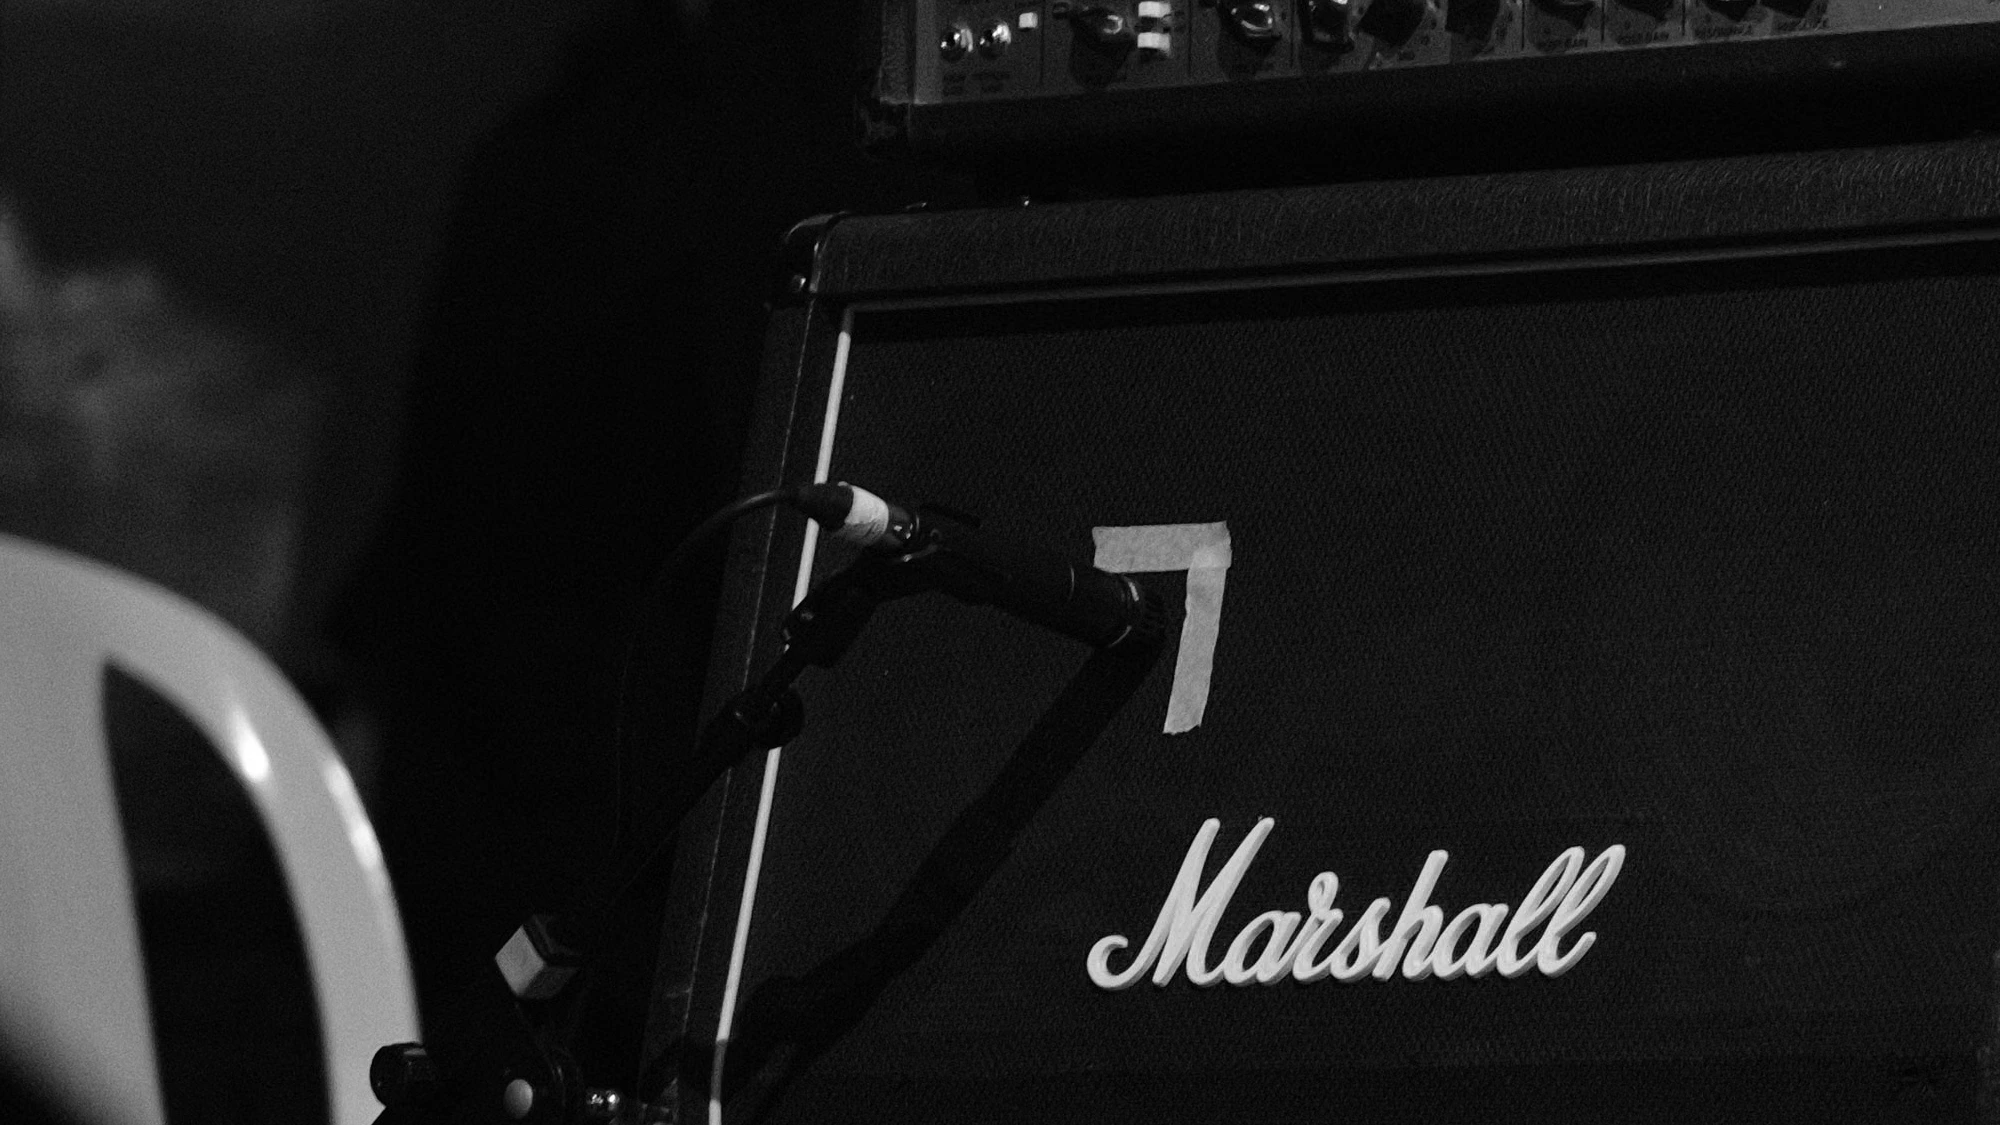
Microphone positioning is an artform, and the way you place a mic in front of a speaker will change the way the sound is captured.
Keep the mic between 1-2 inches from the speaker grill for a very direct, present sound. Shuffling it back to 3-5 inches is ideal if you’re using a condenser mic because their capsules are more sensitive to pressure. Back again to 6-8 inches adds brightness and a little room noise as the sound waves bounce off any furniture and walls. Moving it away any further will bring full room ambience for a very particular type of guitar tone.
Moving the mic towards the middle of the speaker will get you a sharper, more treble-heavy tone. Pointing it towards the rim will make your sound darker and bassier. The sweet spot for most amps and mics is usually close the rim of the centre cone, but it’ll always depend on your gear and the sound you like.
Recording with multiple microphones
Different microphones produce drastically different characteristics. Producers like to blend the sound of two or even three mics, often a combination of dynamic and condenser/ribbon mics in front of a speaker to get thicker, richer guitar tones.
Most audio interfaces have at least two inputs, so if you’ve got two microphones and want to try out this technique, mic up the speaker (if you’ve got a 2x or 4x cab you can place one in front of each speaker) and make sure they’re placed the same distance away from the cone to make sure they’re not out of phase. You can also flip the polarity on one mic if they do sound thin or hollow. Adjust the levels in your DAW to get your ideal blend and make sure they’re panned together in the same direction.
Pressing record
Once your mic placement and input levels are optimised, simply arm the track in your DAW, hit record, play your part and arrange and edit to your taste through a good pair of headphones or studio monitors. The thing about recording with a mic setup is that once the track is recorded, that’s it. There’s no way to strip it back to a blank slate and apply different settings without re-recording the part, unless you’re also carrying out a technique called re-amping. Make sure you’ve got the guitar tone dialled in the way you like, experiment plenty, and work out the sound before you go ahead and nail that part.
What is re-amping?
Do you feel the guitar isn’t sitting right in the mix? Perhaps your track has significantly changed style as it’s developed? Re-amping is when you take your dry, unaffected audio track and send it through another amplifier, modeller or plug-in, allowing you to customise your sound even after you’ve recorded it. It means you’re not committed to any one tone and you can keep working with the settings until you nail the right vibe.
Reamping is common when recording with plug-ins, but you can also re-amp your dry stems with physical amps or effects too. You’ll need to use a reamp/DI box to split the signal into two from the guitar, so you have one signal running through the amp and another directly into the audio interface to get a completely clean signal to work with if you choose.
Recording an acoustic guitar
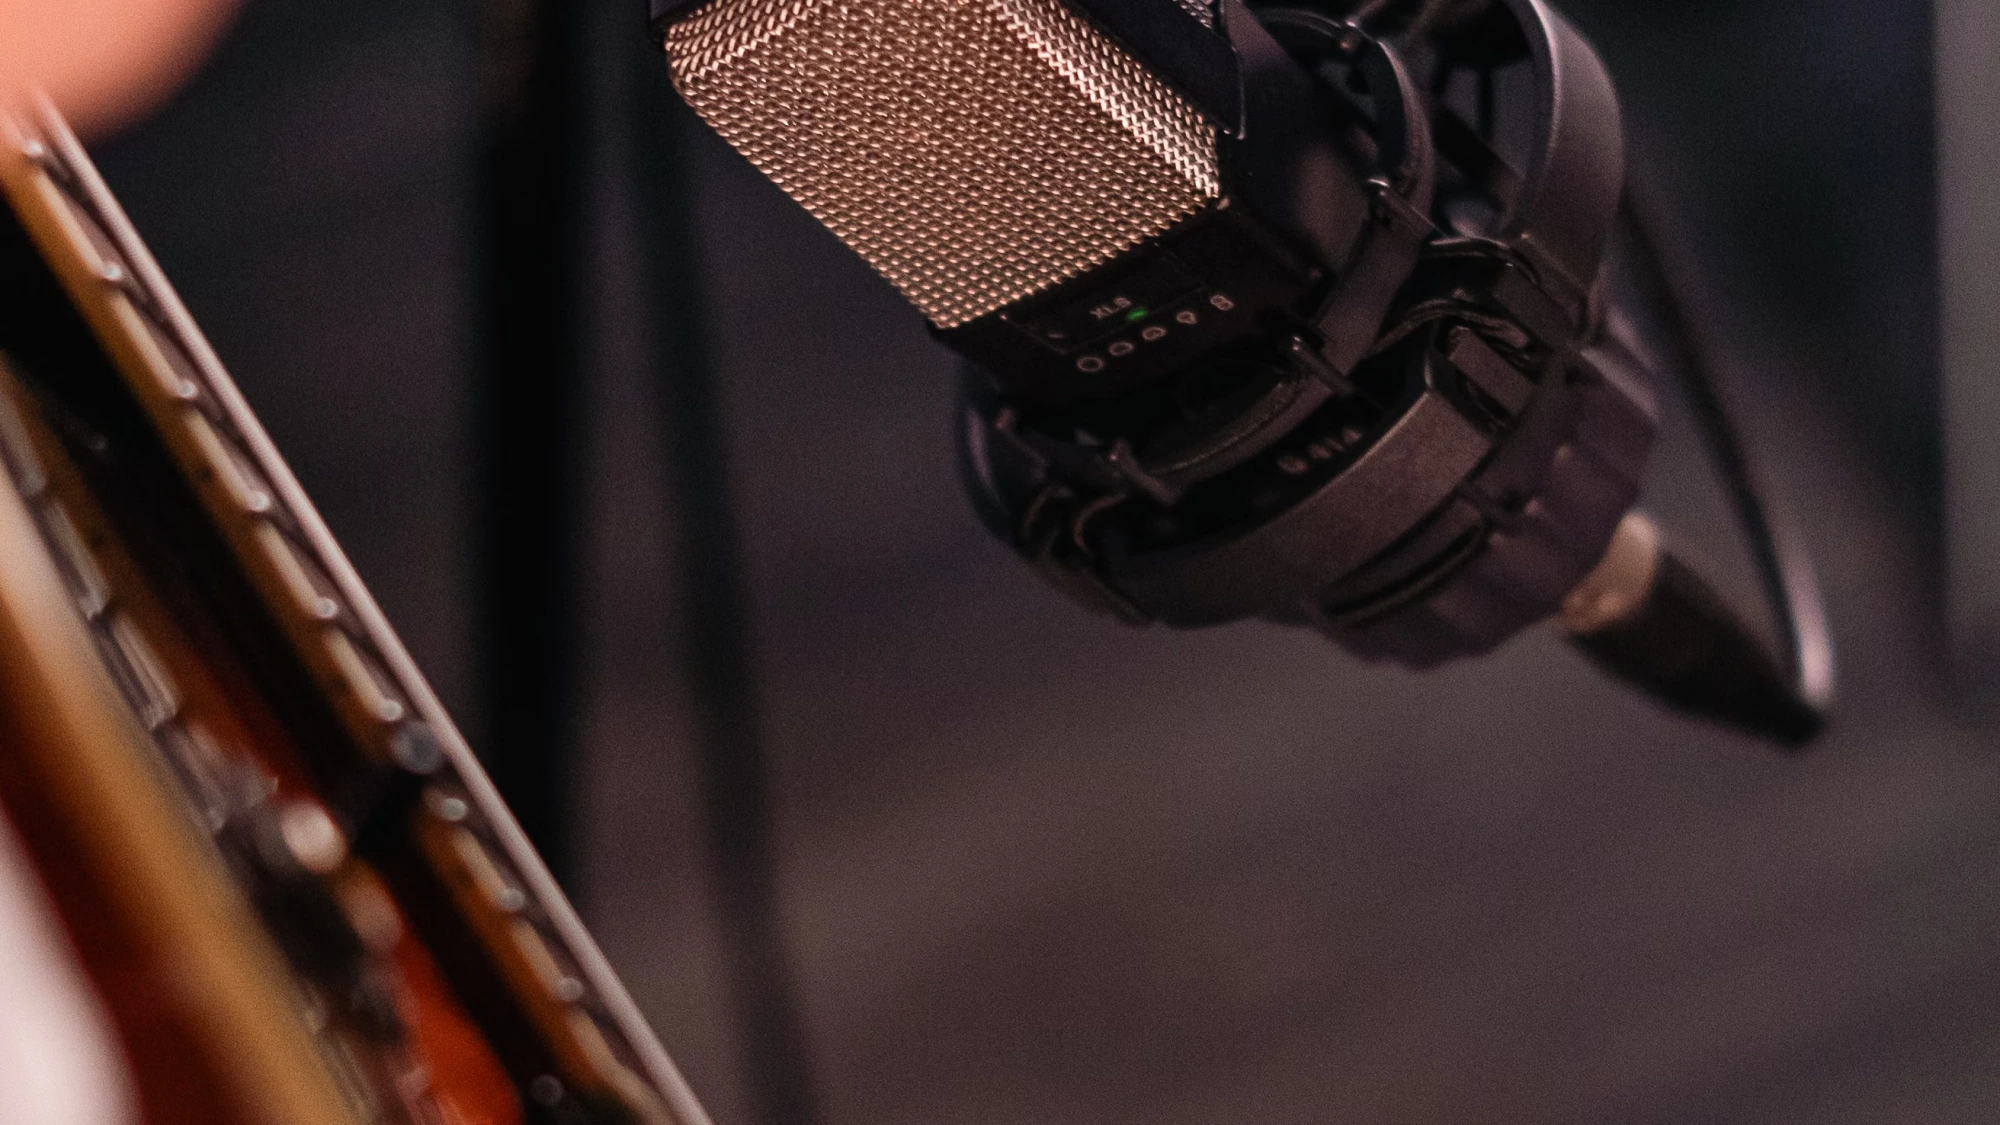
Mic’ing an acoustic guitar is a tricky but satisfying endeavour. A microphone placed a few inches out of position might have you fiddling around in post wondering what you could have done better, but when you know you’ve got it perfect, you’ll have a sparkling, harmonically rich tone.
Use condenser or ribbon microphones
Small diaphragm condenser or ribbon microphones are considered the stronger choices for recording acoustics because they have greater dynamic range than dynamic mics but a very focused directional response, which suits capturing the details – something you’ll benefit from when acoustic playing techniques are usually more delicate and nuanced than playing an electric guitar. Not that you can’t use a dynamic mic of course if that’s all you have to hand!
Acoustic guitar microphone placement
The most consistent sweet spot for a microphone is about 6-8 inches away from the guitar pointed at the 12th fret, or where the body meets the neck. This gives you the best of the bass EQ produced by the soundhole and the treble and details ringing from the fretboard. If you’re just one singer-songwriter with one microphone, then it’s best to opt for this method. If you’re going to record warmer rhythm parts as part of an ensemble, then try lowering a touch towards the lower bout of the guitar and point it towards bridge to dampen the string brightness.
Keep in mind that you’ll move slightly as you play an acoustic guitar. Bringing the instrument closer and further away from the mic will change the volume levels and captured tone. Use this to your advantage to suit the needs of the song.
Recording an acoustic with two microphones
Recording with two microphones adds another dimension and complexity to fill out your sound. Guitar-centric tracks and instrumental songs greatly benefit from the added richness.
- To get a full stereo sound, try the 12th fret positioning with one mic while placing a second mic in front of the bridge to provide more bass and low-mid frequency detail. Keep both mics about 8 inches from the guitar and 24 inches from one another to avoid phasing and comb filtering issues. Raising/lowering the mics increases bass response, which gives more body to the sound of small acoustics.
- Try the XY configuration if you like the density of a two-mic setup but want to pan both into a mono track so you’re being intentional with acoustic panning. This consists of two small mics placed at a right-angle with each other, positioned diagonally near the 12th fret.
Recording using an acoustic or piezo pickup
An acoustic pickup is the same as an electric guitar pickup, using magnets to detect movement in the strings, while a piezo pickup is attached to the top of an acoustic, detecting vibrations in the wood for a more direct sound.
Plug your acoustic into an acoustic amp with a DI out or audio interface to capture these sounds. They could be interpreted by listeners to have an artificial thinness, but some people like the crystalline clarity for specific uses. If you listen to this sound in isolation, it bears some similarity to electric guitar. The upside of this method is that it’s more practical than recording with microphones. A combination of the two isn’t uncommon.
Recording with a modelling amplifier
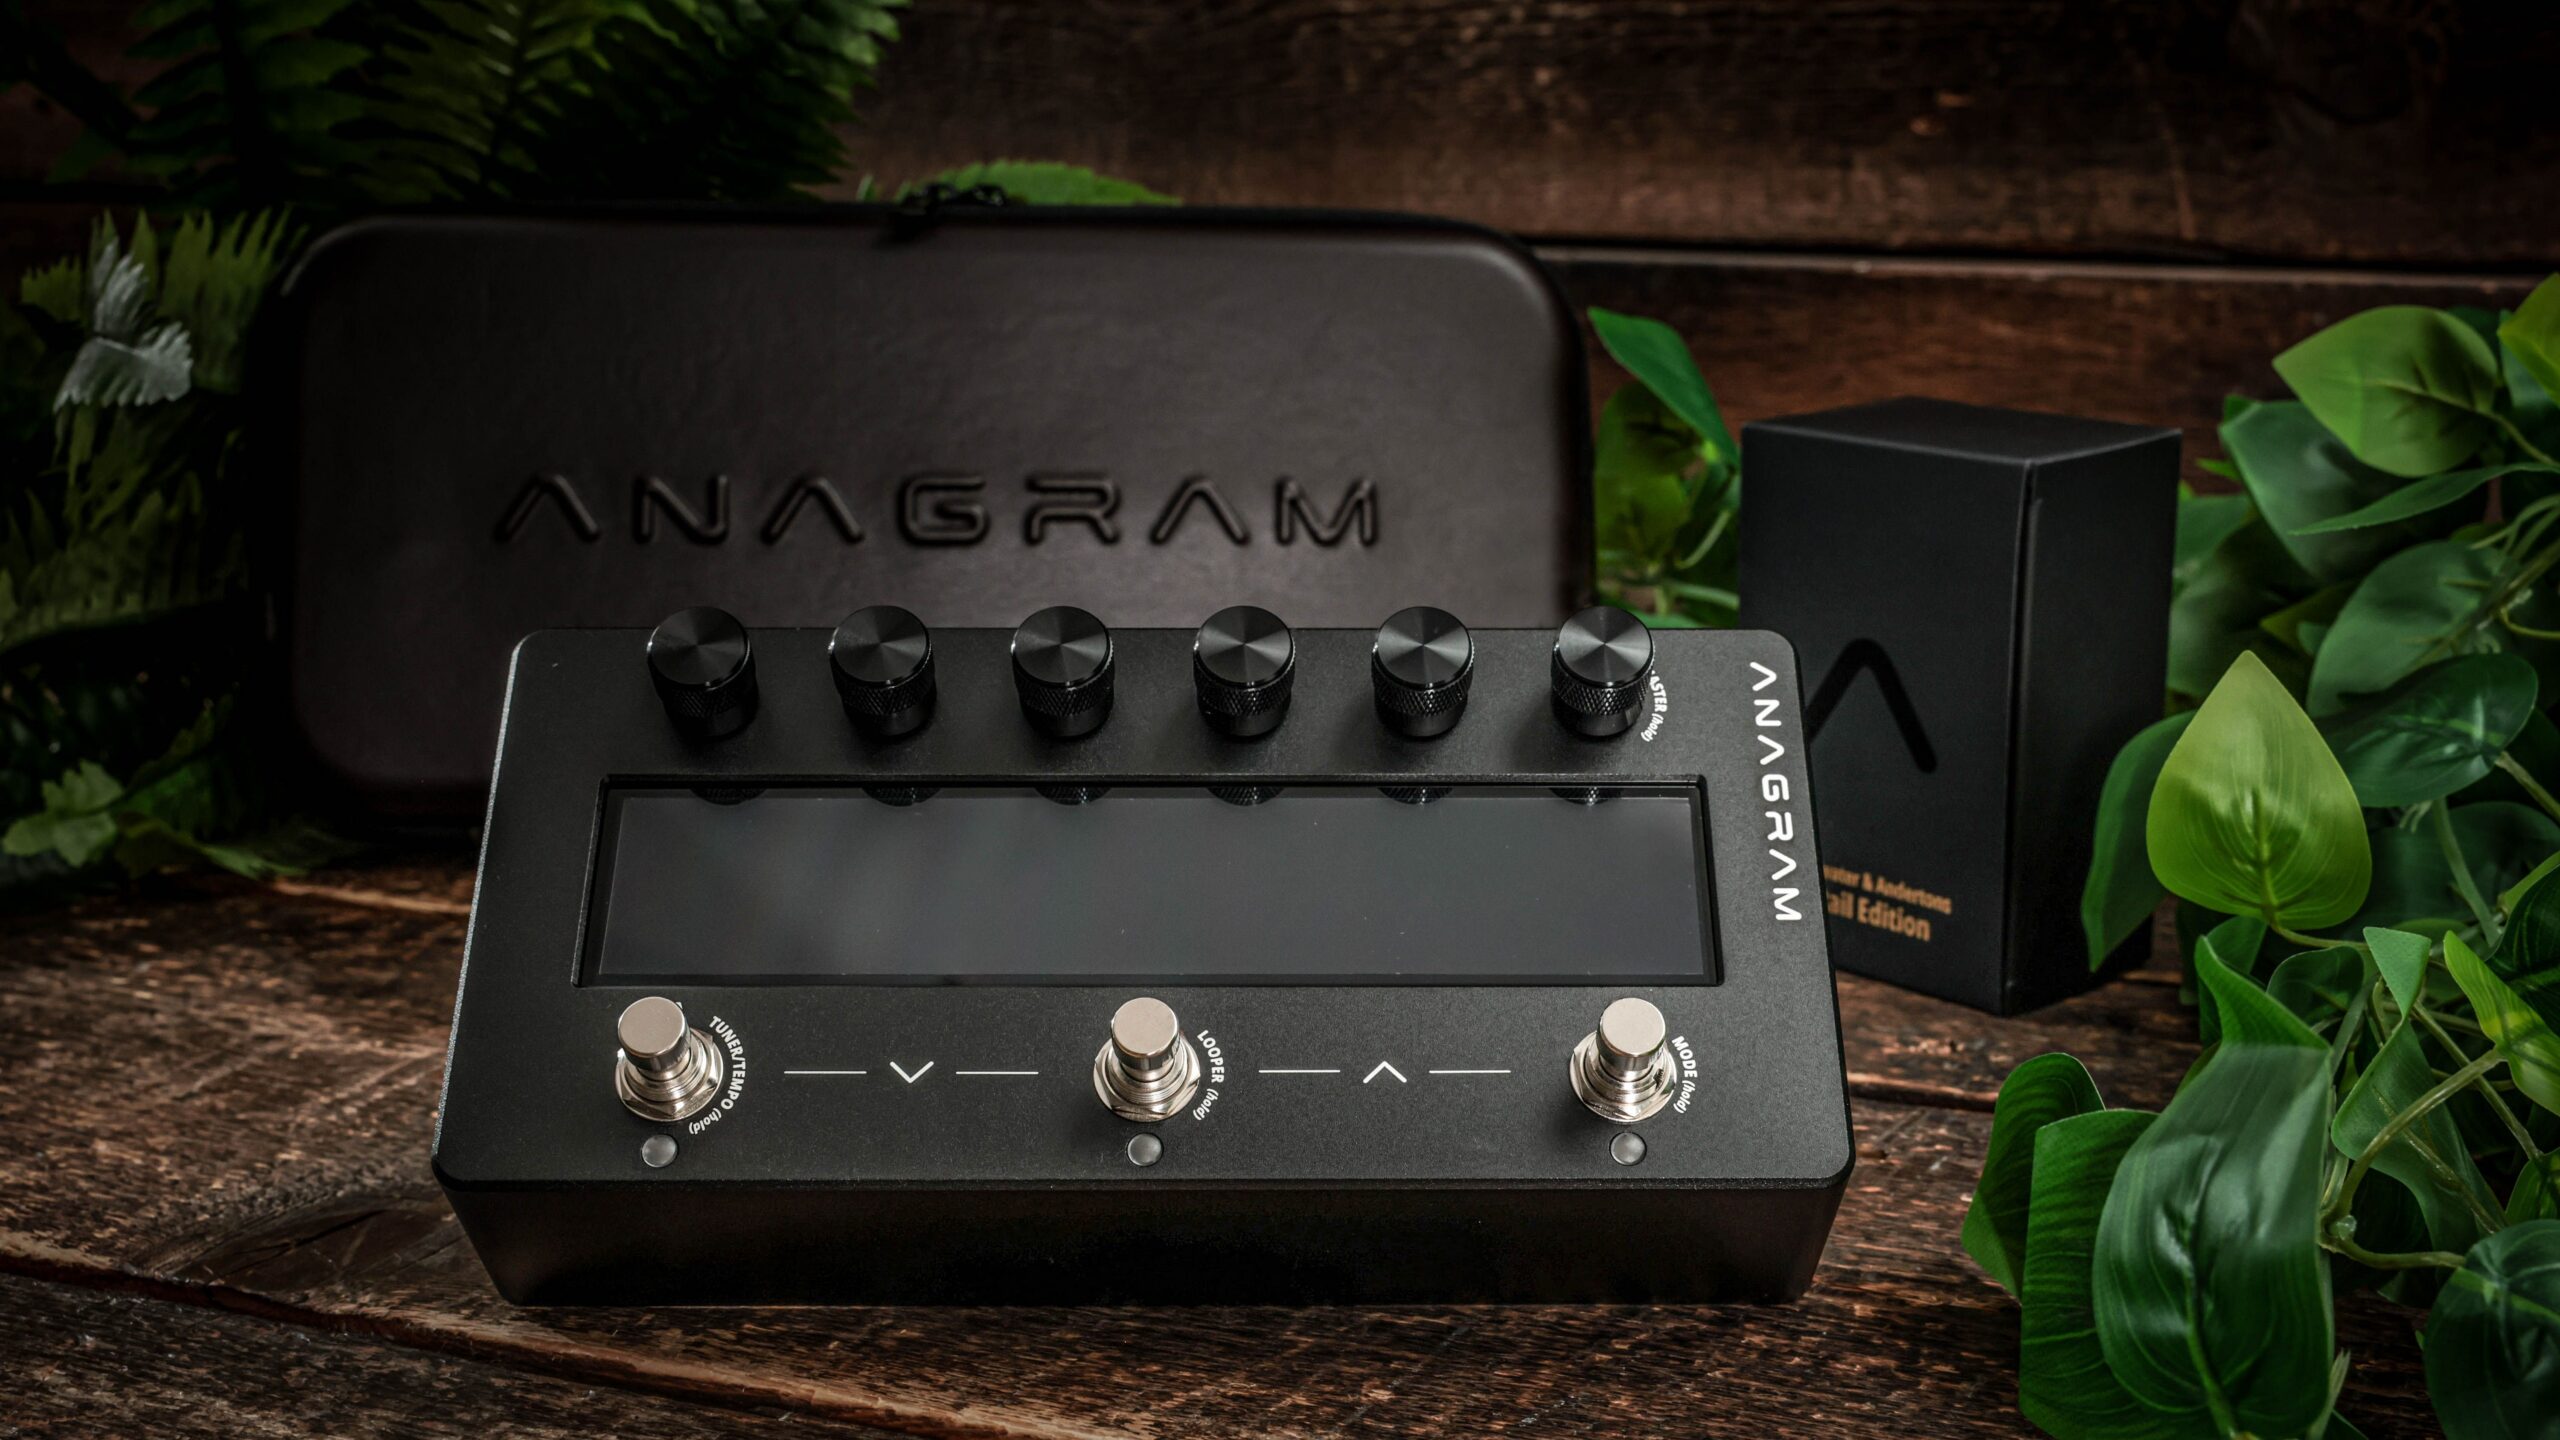
A modelling amp treads the line between plug-in and full-blown amp. It comes in hardware form, either as an amplifier complete with speaker and controls, or a physical desktop/stompbox format. In this setup, you replace your guitar amp with the modelling amp. The term ‘modelling’ refers to the ability to reproduce a wide variety of authentic, sought-after amp sounds, ranging from tweed cleans up to melting high-gain. Classic amps, timeless effects, signature artist presets – the works.
Modelling amp signal chain
- Guitar
- Instrument cable
- Modelling amp (hosting amps, cabs and effects)
- Optional: cabinet simulator or cabinet impulse response (IR) plug-ins
- Instrument or XLR cable
- Audio interface
- DAW
Choosing your modelling amp
At one end of the range are more affordable full speaker modelling amps like the Boss Katana or Fender Mustang, which offer a concise but handy selection of sounds. At the other end there are some massively powerful modelling units like the Neural DSP Quad Cortex, HeadRush range, Line 6 Helix, and Kemper Profilers, allowing you to emulate a never-ending number of amps, effects, cabinets, rooms, microphones and more.
Many modelling amps are recording-ready out of the box, often including direct outputs to your audio interface, built-in cab simulation and even direct USB audio connectivity. This makes modelling amps a practical, versatile and powerful solution for home recording.
Recording bass guitar
Traditionally, you’d record a bass guitar the same as an electric guitar with a mic’d amp and cab, but over the years it became common for bassists to record straight into an audio interface or mixing desk. Many bass amps and pedals feature a direct out jack or XLR, sending a balanced dry signal out to a desk or interface which is often then blended with your amplified or affected signal. This ensures your bass tone retains the low-end weight it needs, while plug-ins like Neural DSP’s Parallax or Darkglass suites add colour to the affected signal with gain, presence, compression and EQ tweaks.
You can also get great tones using guitar modelling amps or dedicated bass preamp pedals from the likes of Darkglass, DSM and Humboldt, Markbass or Origin Effects, which is an ideal choice if you’re also going to play live.
More info
We hope you’ve enjoyed reading this huge article! There’s so much more to cover when it comes to recording music, so if you’d like to find out more check out our Learn content while you’re here.
Responses & Questions